EX331
Member
Preface
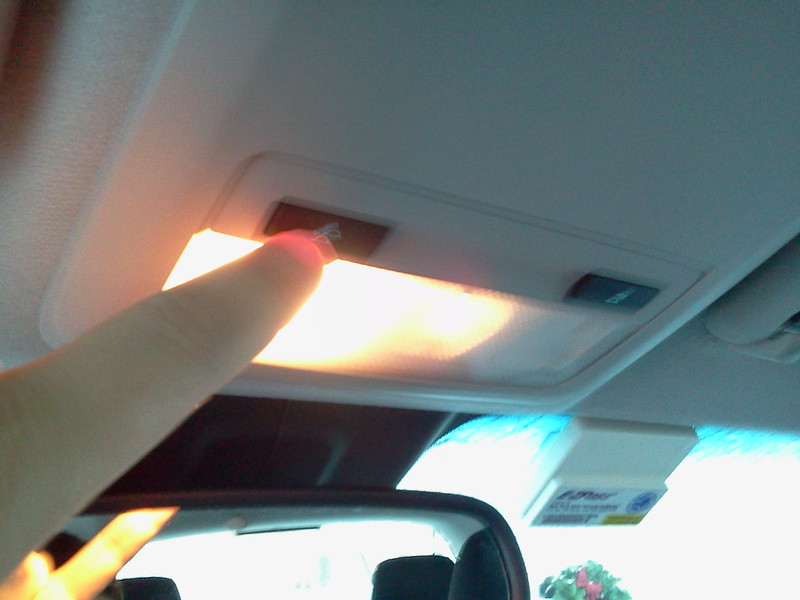
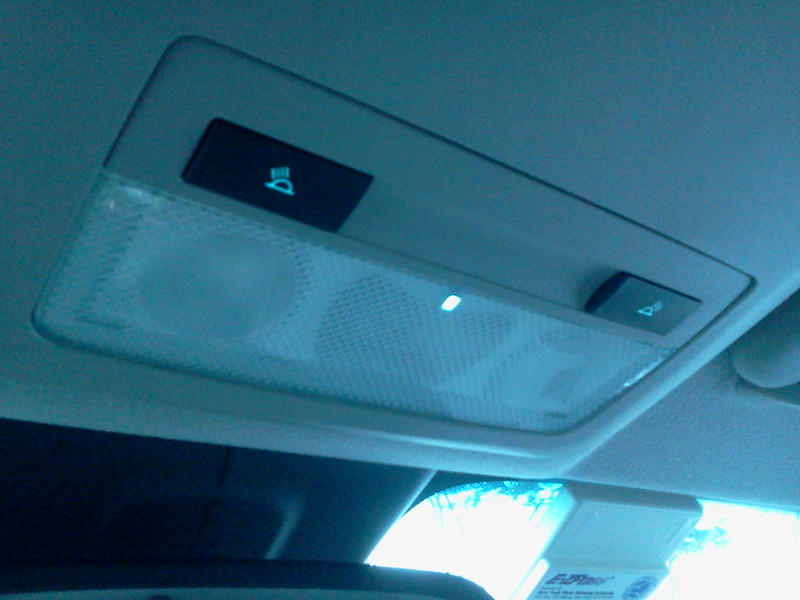
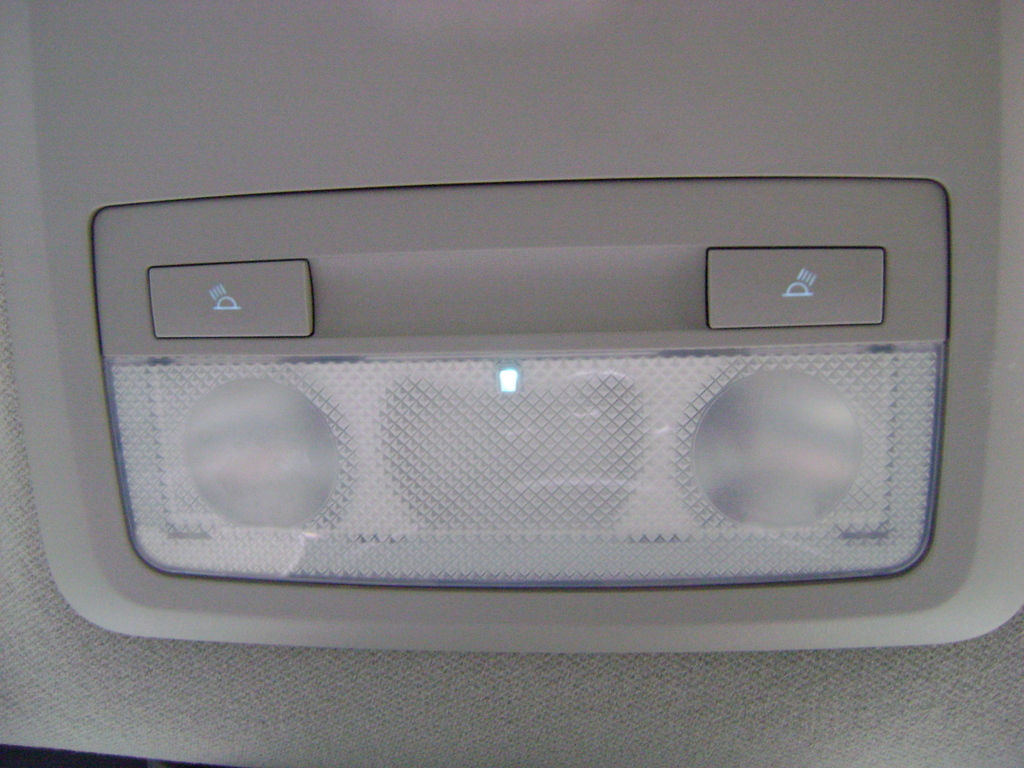
It's always nice to add a thoughtful mod to your car, to give it that little "extra something. Today, we're going to add ambient lighting. Thankfully, this is a quick mod that will add a touch of illumination over the area of the shift lever that will not be a distraction to night time driving. The ambient lighting will be tied to your vehicle's backlight dimming control. In addition to the ambient lighting, the diagrams on the map light buttons will be backlit along with the rest of your interior controls, which will aid in locating the buttons in low light conditions.
The issue of not being able to completely shut the front dome lamp off, a problem unique to those of us who have a Sonic equipped with RPO C95, will also be addressed in this article.
I hope to have all of my bases covered in these instructions. The instructions that are to follow are believed to be correct based on my experience, there are no warranties expressed or implied for their completeness or accuracy, accordingly I cannot be held liable for errors or damages of any kind. These instructions also assume that your vehicle is of the North American specification, and is equipped with the front dome/reading lamps with RPO code C95 - not C90 (see note 1). My vehicle is not equipped with a sunroof, therefore these instructions do not account for the difference design. Please, feel free to add your experience with regard to dealing with the sunroof to the thread.
Supplies
1) DOME LAMP x1
GM uses several of these across their lineup. I have seen it in the Chevrolet Volt, Buick Regal, and Buick Verano. I used the one from the Verano, with GM part number 22856790. I ordered from my dealer, because at the time the price was lower and they hadn't found their way to eBay yet. When looking on eBay, look for a small dot on the clear lens, along the centerline close to the edge that is close to the bezel that surrounds the buttons. That is the LED for the ambient lighting. Worth noting, some of these units, like mine, have black buttons. Again, there are several functionally equivalent parts out there.
2) TERMINAL x2
GM Part number 12191812. Available from your Dealer's parts department in tray 19. They should, hopefully, know what that means. They can also be had elsewhere from the internet, I'm sure. You will need one for the ambient light portion, and another for the dome light mod. See note 2.
3) 20 AWG WIRE
Enough to reach from the overhead center console, across the top edge of the windshield from to the driver's side "A" pillar, thenceforth along the existing wiring harness down to behind the dashboard to the exterior light switch, with enough slack so that there is no undue strain on the wires, both new and existing. For the ambient lighting wiring, I recommend yellow, to keep the color code consistent with the existing vehicle wiring. For the second part of the mod, enough to reach between the two dome lights, and any color will do, really.
4) WIRE TAP x1
I used a 3M brand #560 wire tap. You, however, may opt to use a functionally equivalent item.
5) SMALL ZIP TIES
Used for routing the wire down the "A" pillar along the existing wire harness. Crucial, as you do not want the wires obstructing the side airbag.
6) ELECTRICAL TAPE
7) WIRE MOLDING
Optional, but recommended. I used this to keep the wire contained as it went down the "A" pillar, and into the dashboard.
Tools
• Wire crimp/strip tool
• Driver with appropriate torx bit
• Tool for pulling wire (not sure what it's called, but it's helpful)
• Small, flat bladed jeweler's screw driver.
Preparation of Wire
W1) Skip if you are using terminated lead as described in note 2. Install the terminal at the end of your wire using an appropriate method. I opted to strip an adequate length of insulation from the wire, and crimp the terminal to the end of wire, ensuring that there is a good mechanical connection, it will conduct current, and the terminal will seat in the connector. "Strategery" is key.
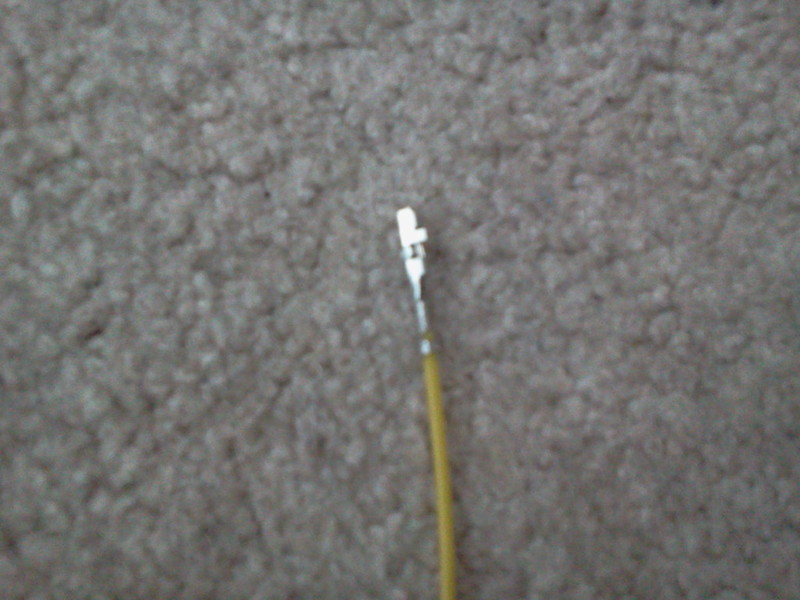
Figure W1. Terminal 12191812 installed on yellow 20 AWG wire.
Preparation of Dome Light
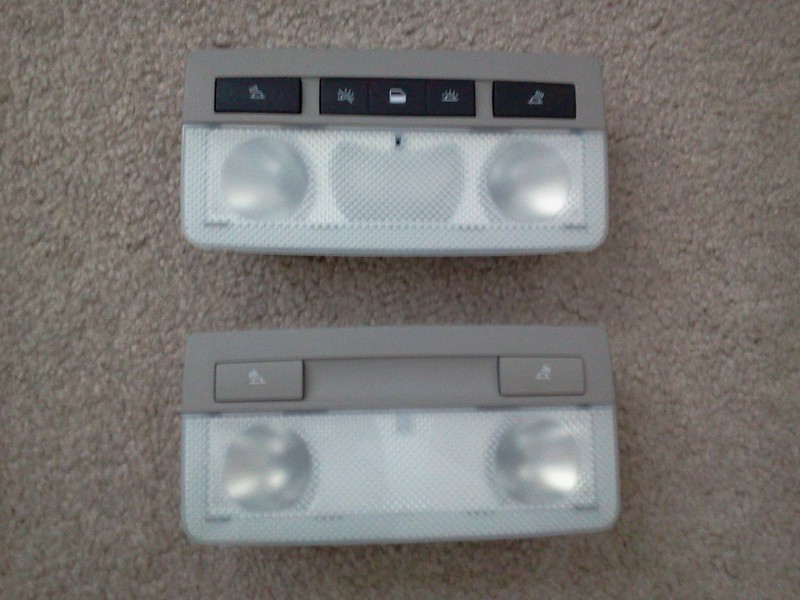
Both dome light assemblies. The unit with the black buttons is the new assembly with the ambient lighting provisions.
You'll notice that the part has a switch in the middle for dome light control. By design, these switches send a control signal to the BCM to turn the dome light on or off. The Sonic does not use these control signals, and I am unaware how to make use of that functionality, so I removed the center switch. You will need the dome lamp that came from the factory. As for the spare parts, you may wish to retain them for future use.
P1) Remove the grayish plasic bezels from both light assemblies.
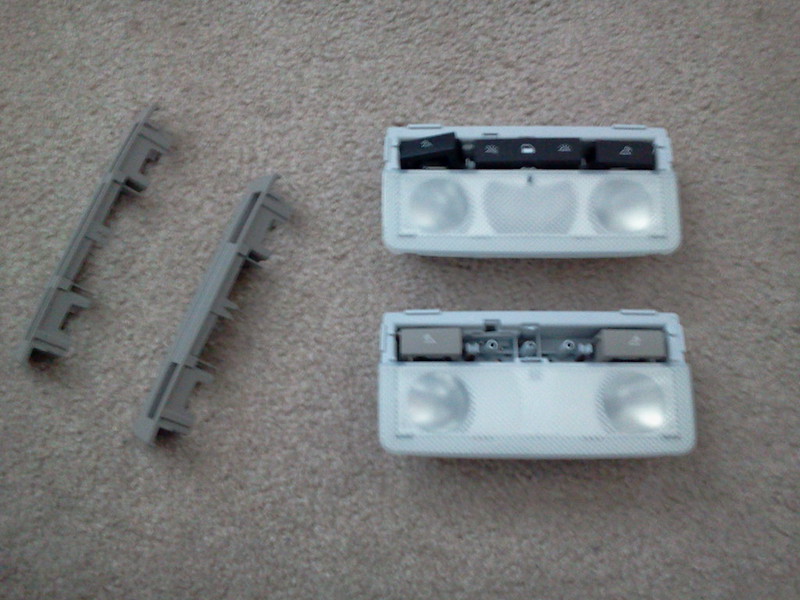
Figure P1, bezels removed.
P2) Remove the center switch from the new assembly.
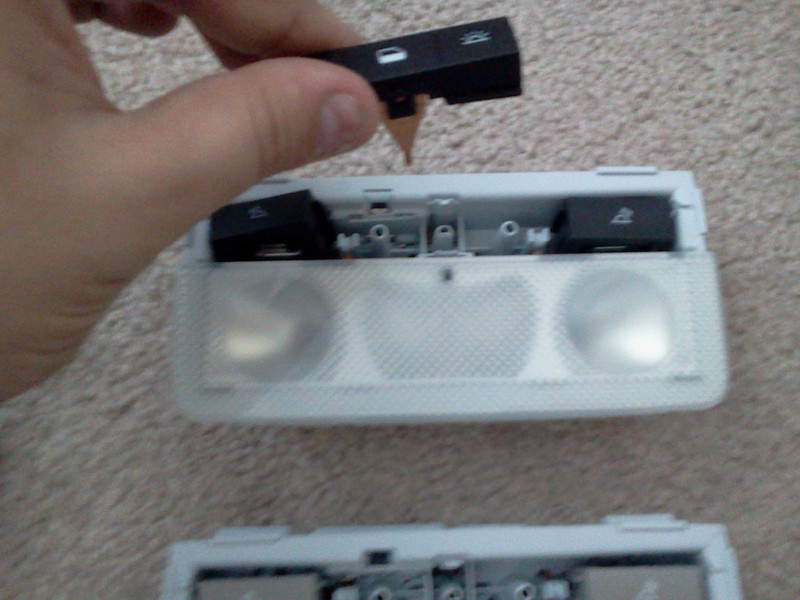
Figure P2, switch removal.
P3) Install bezel from the original lamp assembly.
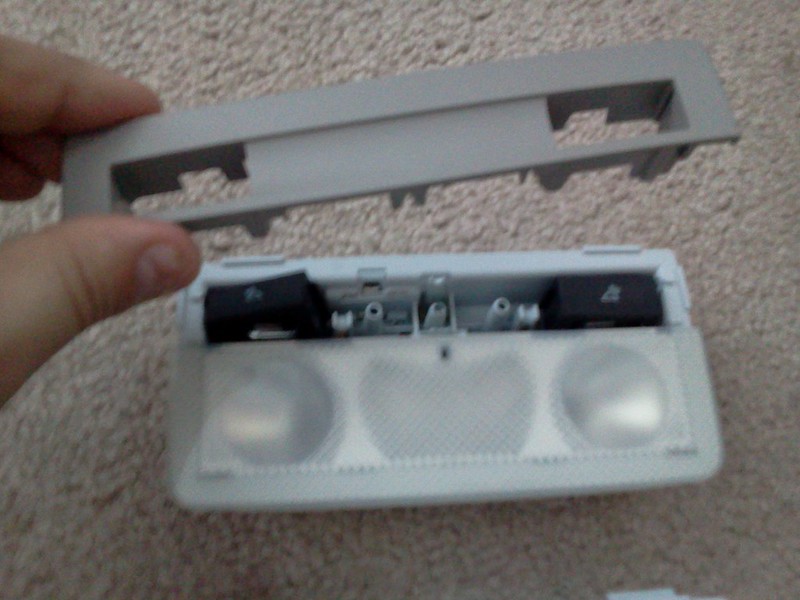
Figure P3, bezel installation.
P4) Install assembly in step 15 of procedure.
Procedure - Go to the next step unless otherwise indicated.
01) Remove the cover for the overhead assembly. You will be able to get all the snaps free along the edge of the cover, however it will not come completely free because of a retainer for the wire leading to the OnStar mic.
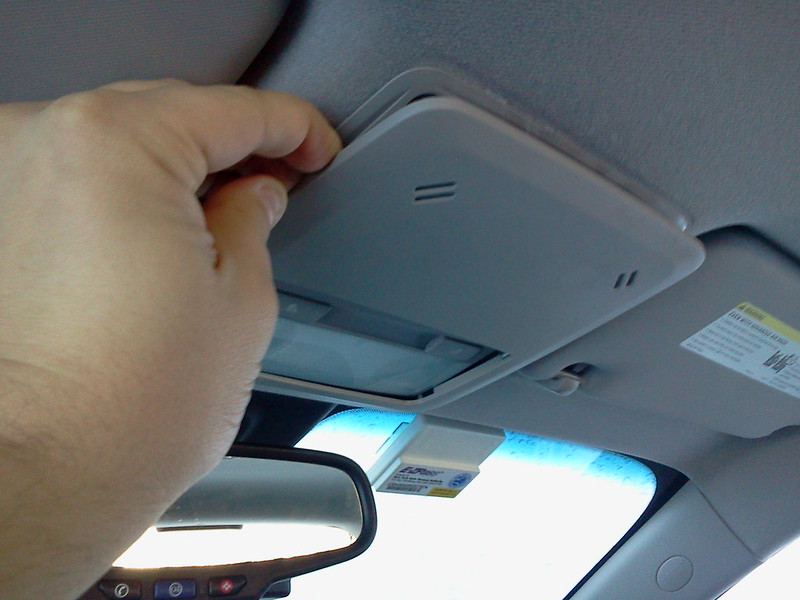
Figure 01
02) Remove remainder of the overhead assembly. You will be able to move the cover side to side to get to the torx screws that are near to either side of the dome lamp.
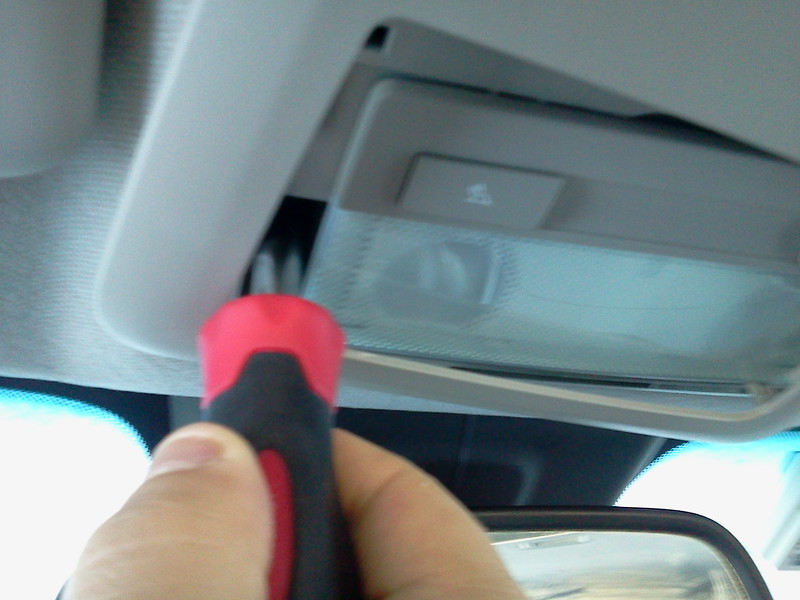
Figure 02
03) Disconnect dome light. Press inward on tab, and remove.
04) Optional. Separate retainer that is holding OnStar mic connector from console, and remove mic from cover. This would make the task at hand a little easier, but not necessary.
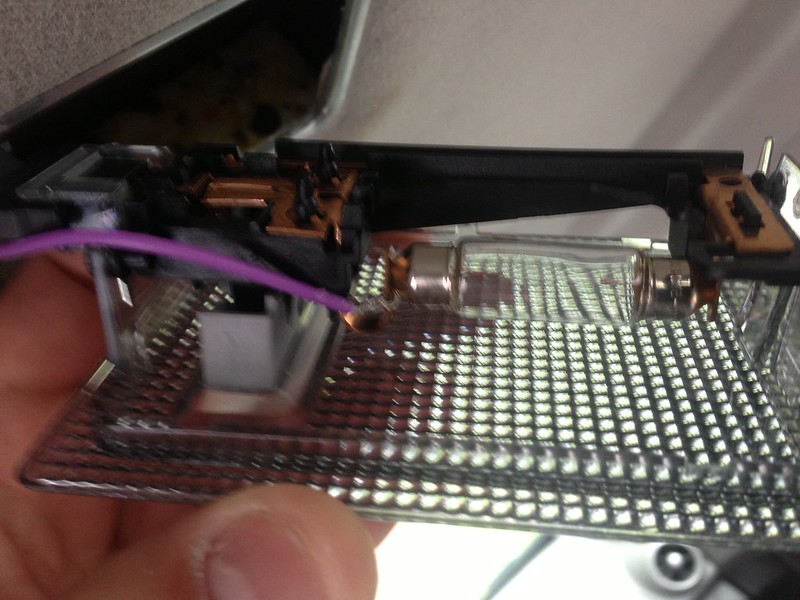
05) Remove dome light from assembly. Press inward on silver retaining tabs and press downward to remove light from framework.
* To add ambient lighting go to step 6. To modify dome lamp (regulated by the door and switch) go to step 16.
06) Remove "A" pillar trim. Pull on upward section until it comes apart (Figure 06A). You will then have to disconnect the trim piece from the black "springy" retainer that is used to keep the trim in place in the event of side airbag deployment (Figure 06B). If equipped, disconnect the wiring going to the tweeter at the base of the trim piece. The tab is large enough to easily pinch with your fingers.
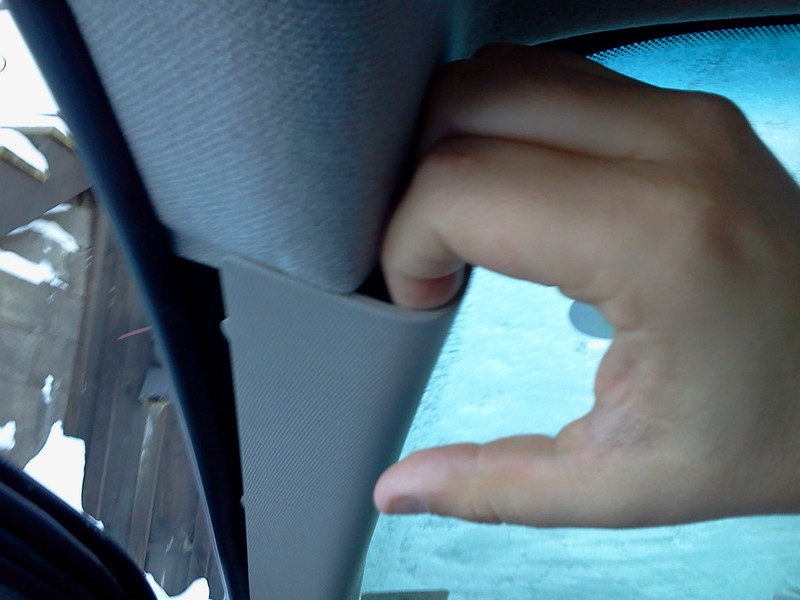
Figure 06A. Pull "A" pillar trim to remove.
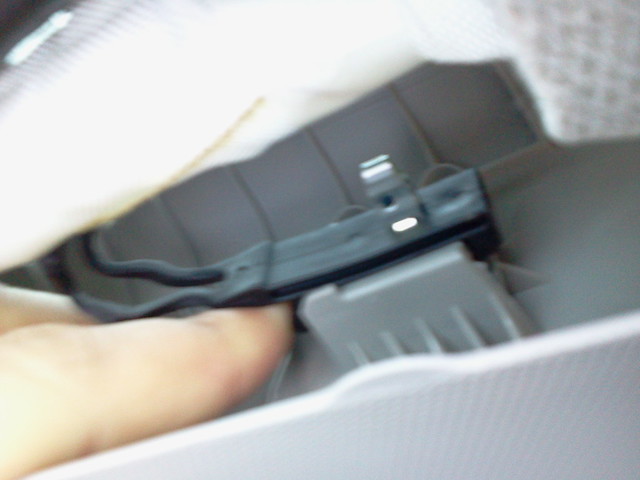
Figure 06B. Remove "springy" clip.
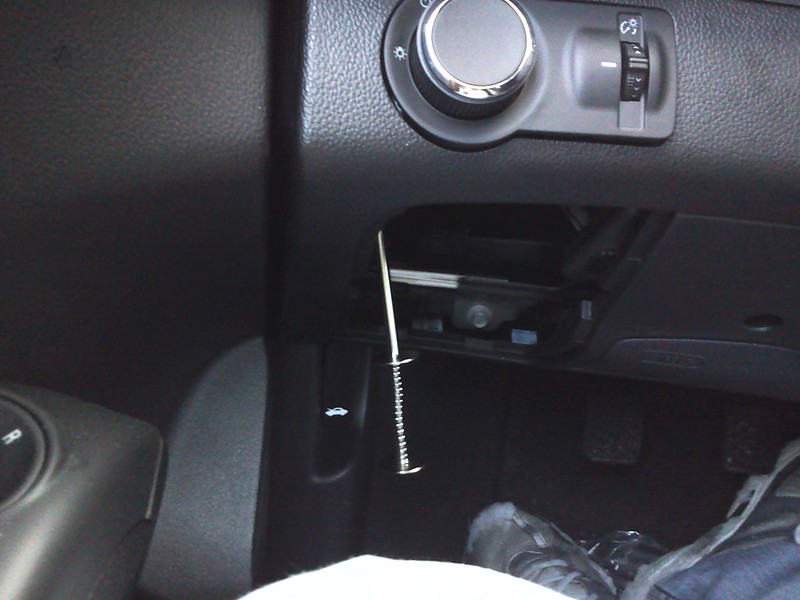
07) Remove dash panel beneath the steering column. I believe it took 6 phillips screws to do this. Be mindful of one retaining clip in the smallest section that is adjacent to the center console.
08) Disconnect and remove Exterior light switch. There are three plastic retaining tabs that are holding the switch in place, one at the top, one on the side of the rotary switch, and one at the bottom of the unit. Press with great "strategry" to remove.
09) Replace dash panel beneath the steering column. Remove fuse panel access cover.
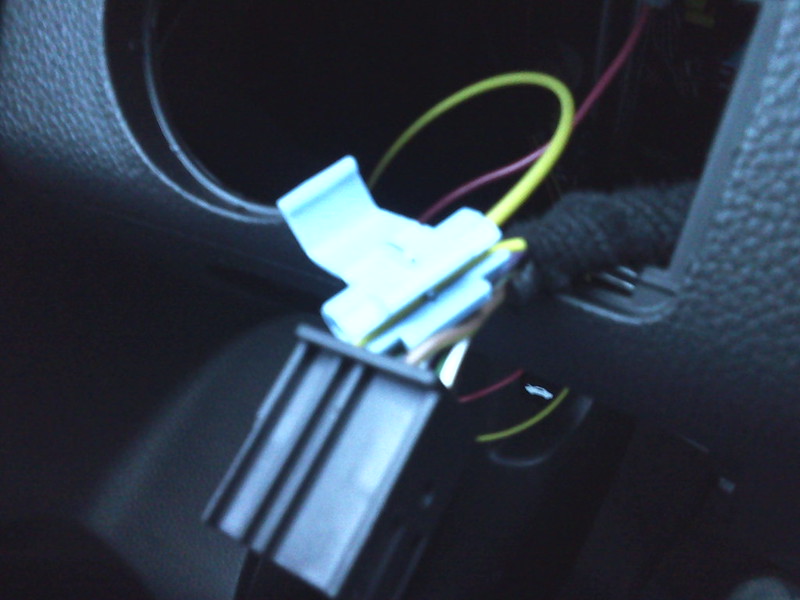
10) Insert terminated wire into pin 3 of dome light harness connector. This will be immediately next to the light blue wire going into pin 2.
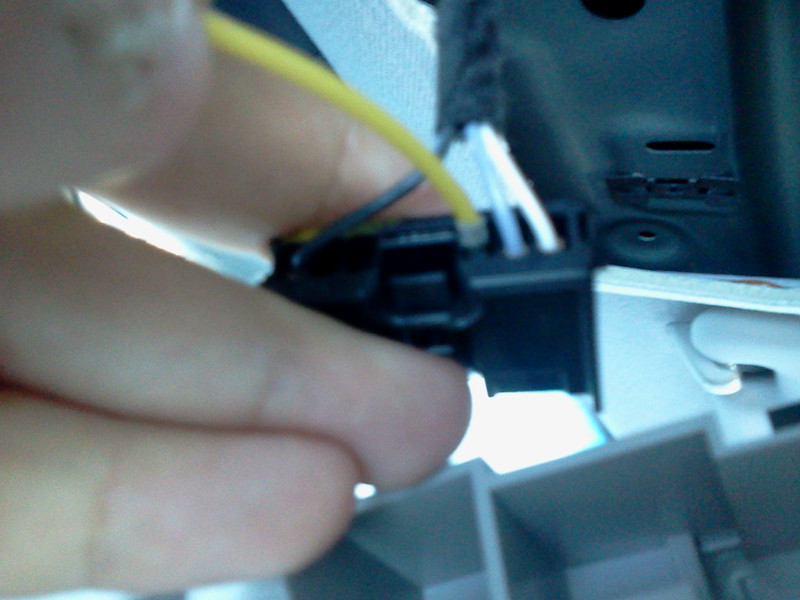
Figure 10. Inserting yellow wire into pin 3.
11) Route wiring. Route along existing wiring for dome light (Figure 11A). Thenceforth, tuck underneath headliner at the top of windshield between the rear view mirror and "A" pillar, making sure to leave enough slack so that there is no undue strain on the wires, both new and existing. At the edge of the headliner tuck the wire(s) up under the corner of the headliner. Now, run wire along the existing wiring harness (Figure 11B) until approximately 1 to 3 inches below the anchor for the side airbags (Figure 11C). Install a small zip tie at this location, as well as a few places between there and the headliner to ensure the wire(s) remain securely in place. Cut excess length off the zip ties. Be vigilant to ensure that the path of the side airbag is not obstructed in any way.
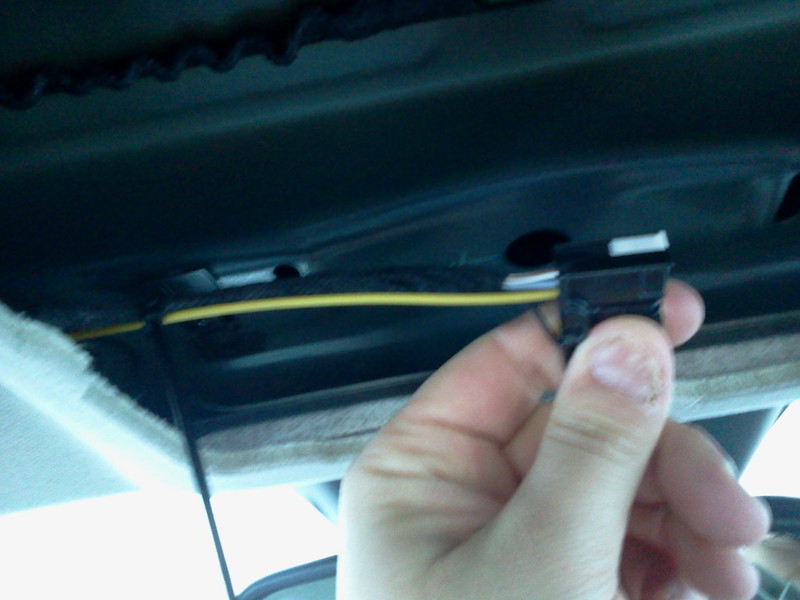
Figure 11A.
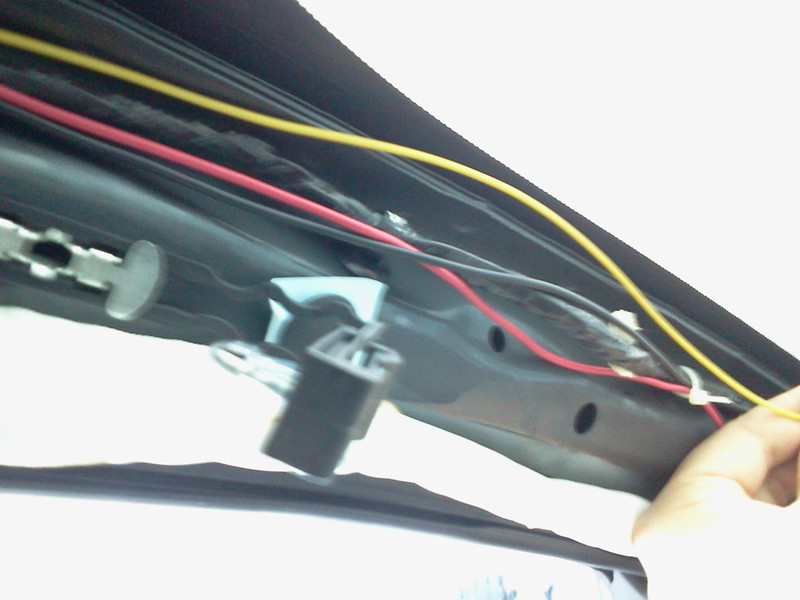
Figure 11B.
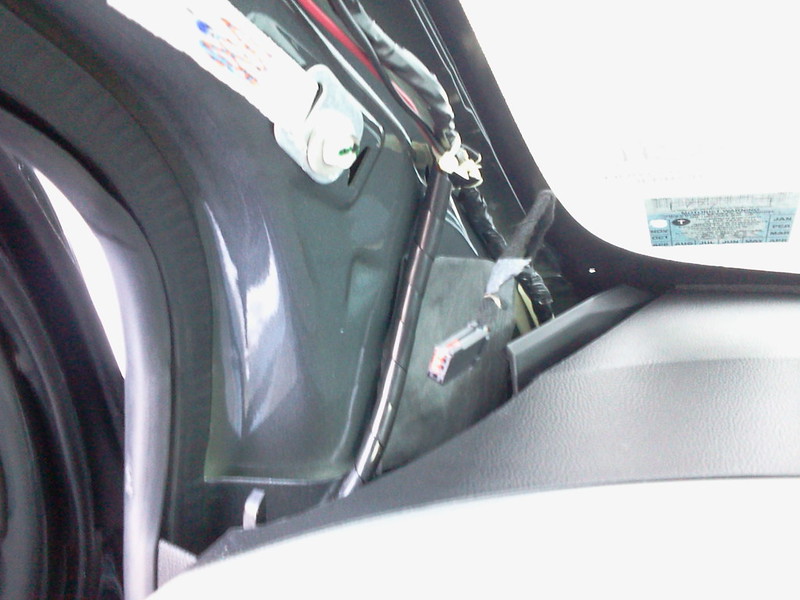
Figure 11C. Intended routing of yellow wire.
It's always nice to add a thoughtful mod to your car, to give it that little "extra something. Today, we're going to add ambient lighting. Thankfully, this is a quick mod that will add a touch of illumination over the area of the shift lever that will not be a distraction to night time driving. The ambient lighting will be tied to your vehicle's backlight dimming control. In addition to the ambient lighting, the diagrams on the map light buttons will be backlit along with the rest of your interior controls, which will aid in locating the buttons in low light conditions.
The issue of not being able to completely shut the front dome lamp off, a problem unique to those of us who have a Sonic equipped with RPO C95, will also be addressed in this article.
I hope to have all of my bases covered in these instructions. The instructions that are to follow are believed to be correct based on my experience, there are no warranties expressed or implied for their completeness or accuracy, accordingly I cannot be held liable for errors or damages of any kind. These instructions also assume that your vehicle is of the North American specification, and is equipped with the front dome/reading lamps with RPO code C95 - not C90 (see note 1). My vehicle is not equipped with a sunroof, therefore these instructions do not account for the difference design. Please, feel free to add your experience with regard to dealing with the sunroof to the thread.
Supplies
1) DOME LAMP x1
GM uses several of these across their lineup. I have seen it in the Chevrolet Volt, Buick Regal, and Buick Verano. I used the one from the Verano, with GM part number 22856790. I ordered from my dealer, because at the time the price was lower and they hadn't found their way to eBay yet. When looking on eBay, look for a small dot on the clear lens, along the centerline close to the edge that is close to the bezel that surrounds the buttons. That is the LED for the ambient lighting. Worth noting, some of these units, like mine, have black buttons. Again, there are several functionally equivalent parts out there.
2) TERMINAL x2
GM Part number 12191812. Available from your Dealer's parts department in tray 19. They should, hopefully, know what that means. They can also be had elsewhere from the internet, I'm sure. You will need one for the ambient light portion, and another for the dome light mod. See note 2.
3) 20 AWG WIRE
Enough to reach from the overhead center console, across the top edge of the windshield from to the driver's side "A" pillar, thenceforth along the existing wiring harness down to behind the dashboard to the exterior light switch, with enough slack so that there is no undue strain on the wires, both new and existing. For the ambient lighting wiring, I recommend yellow, to keep the color code consistent with the existing vehicle wiring. For the second part of the mod, enough to reach between the two dome lights, and any color will do, really.
4) WIRE TAP x1
I used a 3M brand #560 wire tap. You, however, may opt to use a functionally equivalent item.
5) SMALL ZIP TIES
Used for routing the wire down the "A" pillar along the existing wire harness. Crucial, as you do not want the wires obstructing the side airbag.
6) ELECTRICAL TAPE
7) WIRE MOLDING
Optional, but recommended. I used this to keep the wire contained as it went down the "A" pillar, and into the dashboard.
Tools
• Wire crimp/strip tool
• Driver with appropriate torx bit
• Tool for pulling wire (not sure what it's called, but it's helpful)
• Small, flat bladed jeweler's screw driver.
Preparation of Wire
W1) Skip if you are using terminated lead as described in note 2. Install the terminal at the end of your wire using an appropriate method. I opted to strip an adequate length of insulation from the wire, and crimp the terminal to the end of wire, ensuring that there is a good mechanical connection, it will conduct current, and the terminal will seat in the connector. "Strategery" is key.

Figure W1. Terminal 12191812 installed on yellow 20 AWG wire.
Preparation of Dome Light

Both dome light assemblies. The unit with the black buttons is the new assembly with the ambient lighting provisions.
You'll notice that the part has a switch in the middle for dome light control. By design, these switches send a control signal to the BCM to turn the dome light on or off. The Sonic does not use these control signals, and I am unaware how to make use of that functionality, so I removed the center switch. You will need the dome lamp that came from the factory. As for the spare parts, you may wish to retain them for future use.
P1) Remove the grayish plasic bezels from both light assemblies.

Figure P1, bezels removed.
P2) Remove the center switch from the new assembly.

Figure P2, switch removal.
P3) Install bezel from the original lamp assembly.

Figure P3, bezel installation.
P4) Install assembly in step 15 of procedure.
Procedure - Go to the next step unless otherwise indicated.
01) Remove the cover for the overhead assembly. You will be able to get all the snaps free along the edge of the cover, however it will not come completely free because of a retainer for the wire leading to the OnStar mic.

Figure 01
02) Remove remainder of the overhead assembly. You will be able to move the cover side to side to get to the torx screws that are near to either side of the dome lamp.

Figure 02
03) Disconnect dome light. Press inward on tab, and remove.
04) Optional. Separate retainer that is holding OnStar mic connector from console, and remove mic from cover. This would make the task at hand a little easier, but not necessary.
05) Remove dome light from assembly. Press inward on silver retaining tabs and press downward to remove light from framework.
* To add ambient lighting go to step 6. To modify dome lamp (regulated by the door and switch) go to step 16.
06) Remove "A" pillar trim. Pull on upward section until it comes apart (Figure 06A). You will then have to disconnect the trim piece from the black "springy" retainer that is used to keep the trim in place in the event of side airbag deployment (Figure 06B). If equipped, disconnect the wiring going to the tweeter at the base of the trim piece. The tab is large enough to easily pinch with your fingers.

Figure 06A. Pull "A" pillar trim to remove.

Figure 06B. Remove "springy" clip.
07) Remove dash panel beneath the steering column. I believe it took 6 phillips screws to do this. Be mindful of one retaining clip in the smallest section that is adjacent to the center console.
08) Disconnect and remove Exterior light switch. There are three plastic retaining tabs that are holding the switch in place, one at the top, one on the side of the rotary switch, and one at the bottom of the unit. Press with great "strategry" to remove.
09) Replace dash panel beneath the steering column. Remove fuse panel access cover.
10) Insert terminated wire into pin 3 of dome light harness connector. This will be immediately next to the light blue wire going into pin 2.

Figure 10. Inserting yellow wire into pin 3.
11) Route wiring. Route along existing wiring for dome light (Figure 11A). Thenceforth, tuck underneath headliner at the top of windshield between the rear view mirror and "A" pillar, making sure to leave enough slack so that there is no undue strain on the wires, both new and existing. At the edge of the headliner tuck the wire(s) up under the corner of the headliner. Now, run wire along the existing wiring harness (Figure 11B) until approximately 1 to 3 inches below the anchor for the side airbags (Figure 11C). Install a small zip tie at this location, as well as a few places between there and the headliner to ensure the wire(s) remain securely in place. Cut excess length off the zip ties. Be vigilant to ensure that the path of the side airbag is not obstructed in any way.

Figure 11A.

Figure 11B.

Figure 11C. Intended routing of yellow wire.
