Hypurr
New member
I decided to do a modest sound system in my Sonic using the stock head unit. I read many articles on this forum that gave me good information to plan exactly what I wanted to do. I hope this thread helps add to the information here and helps someone else in their audio choices and installation. I listen to metal and hard rock almost exclusively with classical elements thrown in (Symphonic Metal). I don't want to be heard booming at intersections or shake my neighbor's windows, I just wanted clear sound with decent speakers and good low end with enough power to play music at a good volume with clarity. I have been very satisfied with the system in my truck for years so I duplicated it in some ways.
Here's the equipment I chose.
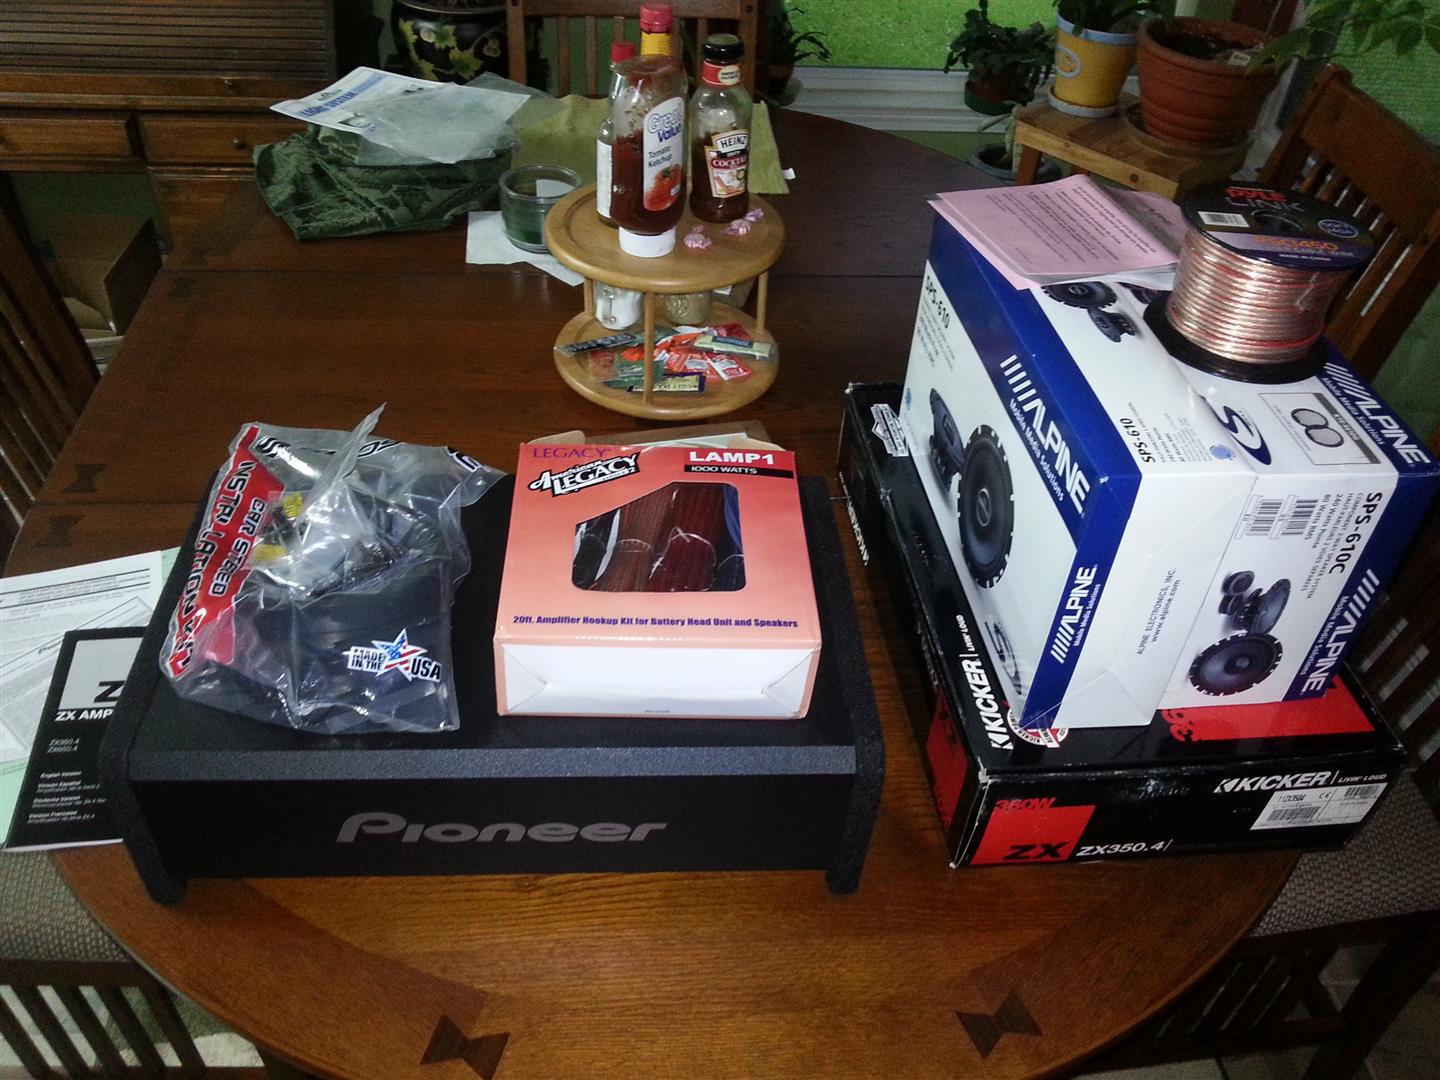
The Alpines are the same speakers I've had in my truck for 5 years and they still sound great.
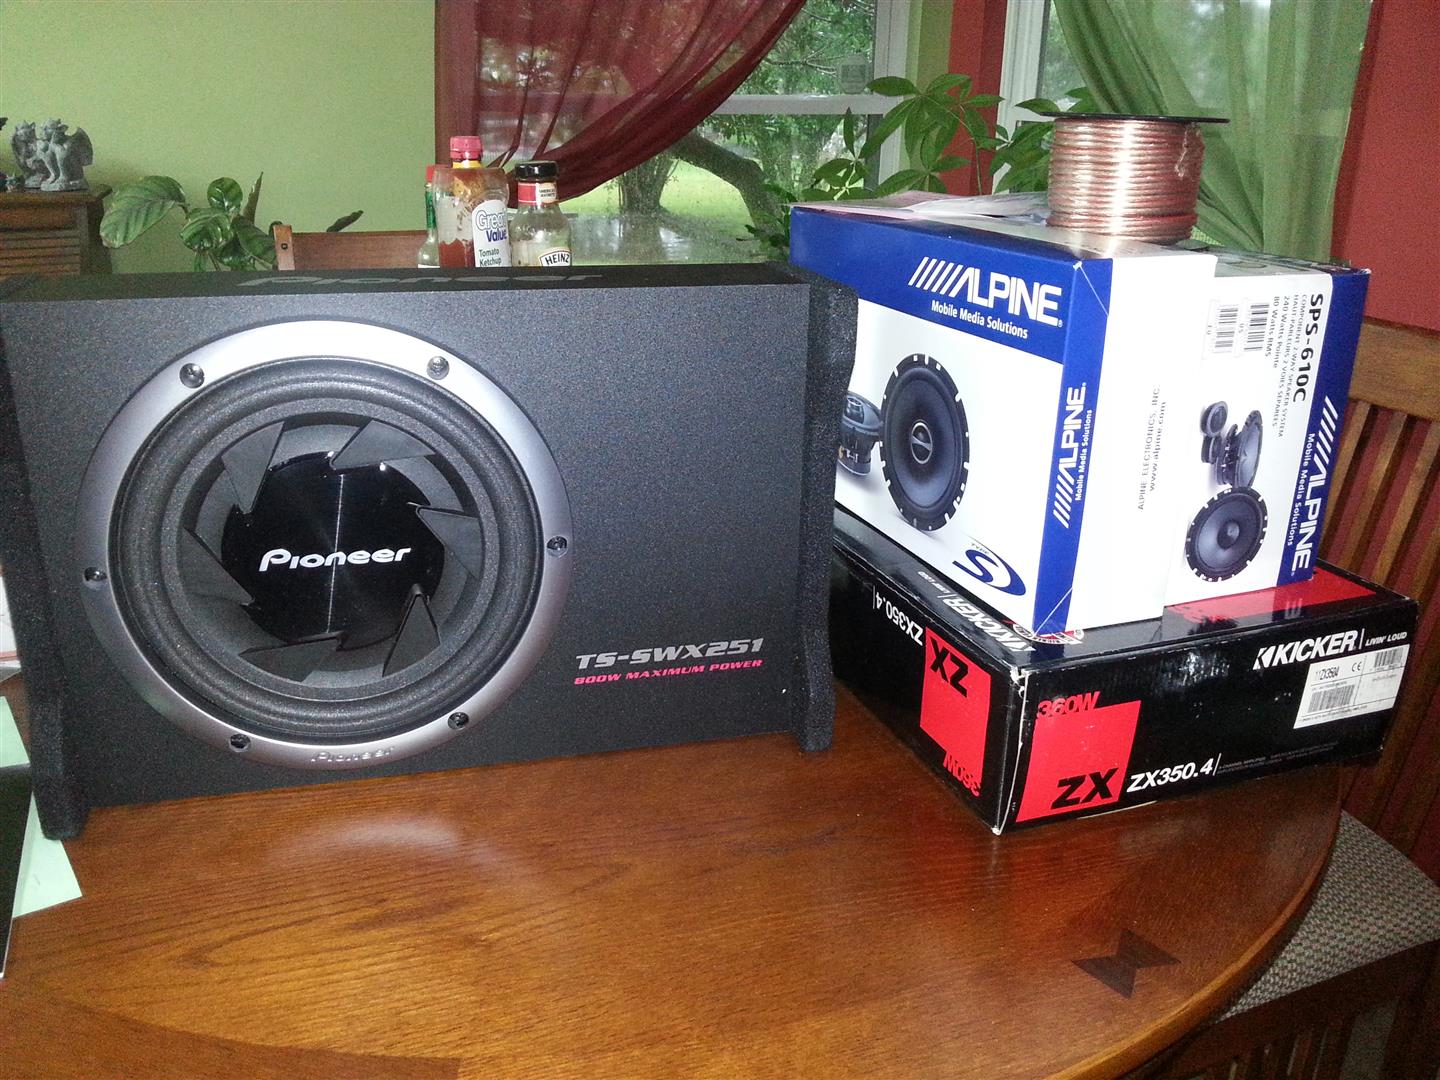
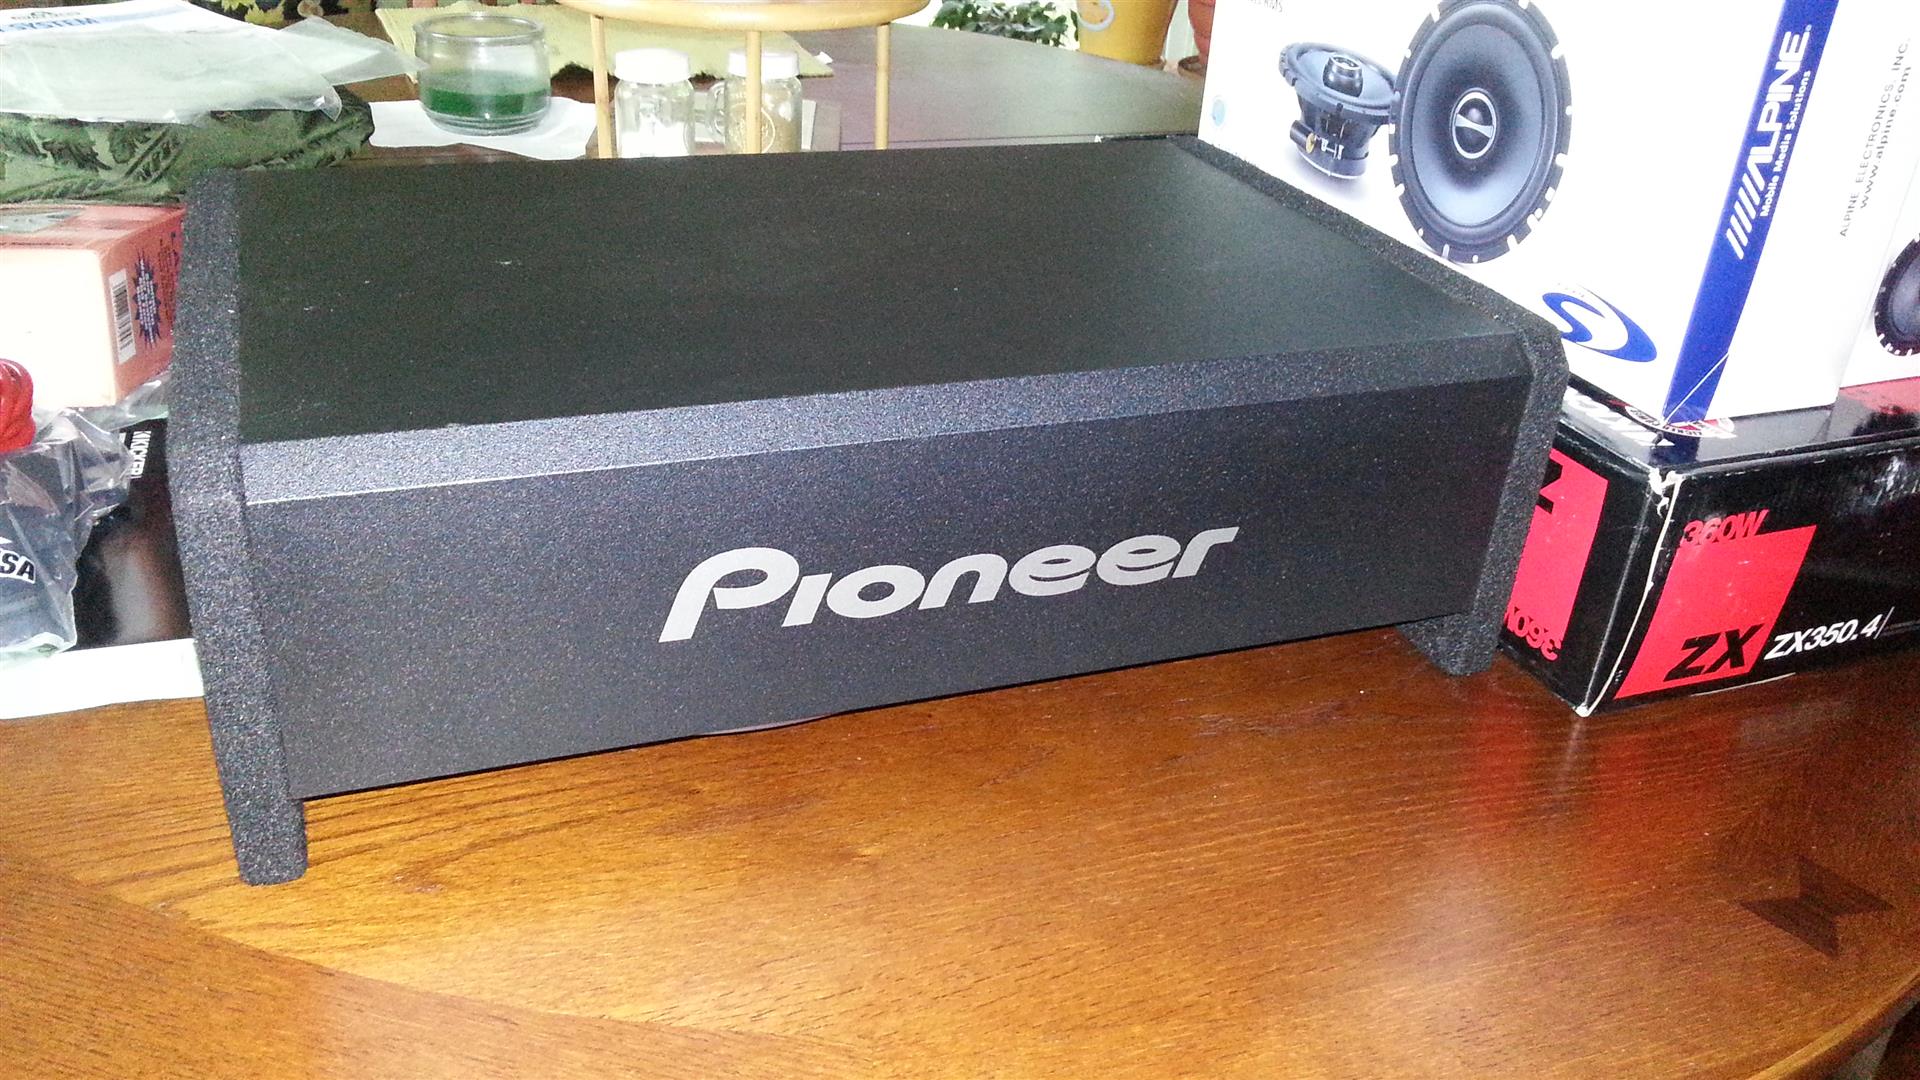
I chose a shallow mount sub to minimize space taken up but with enough of a kick to feel.
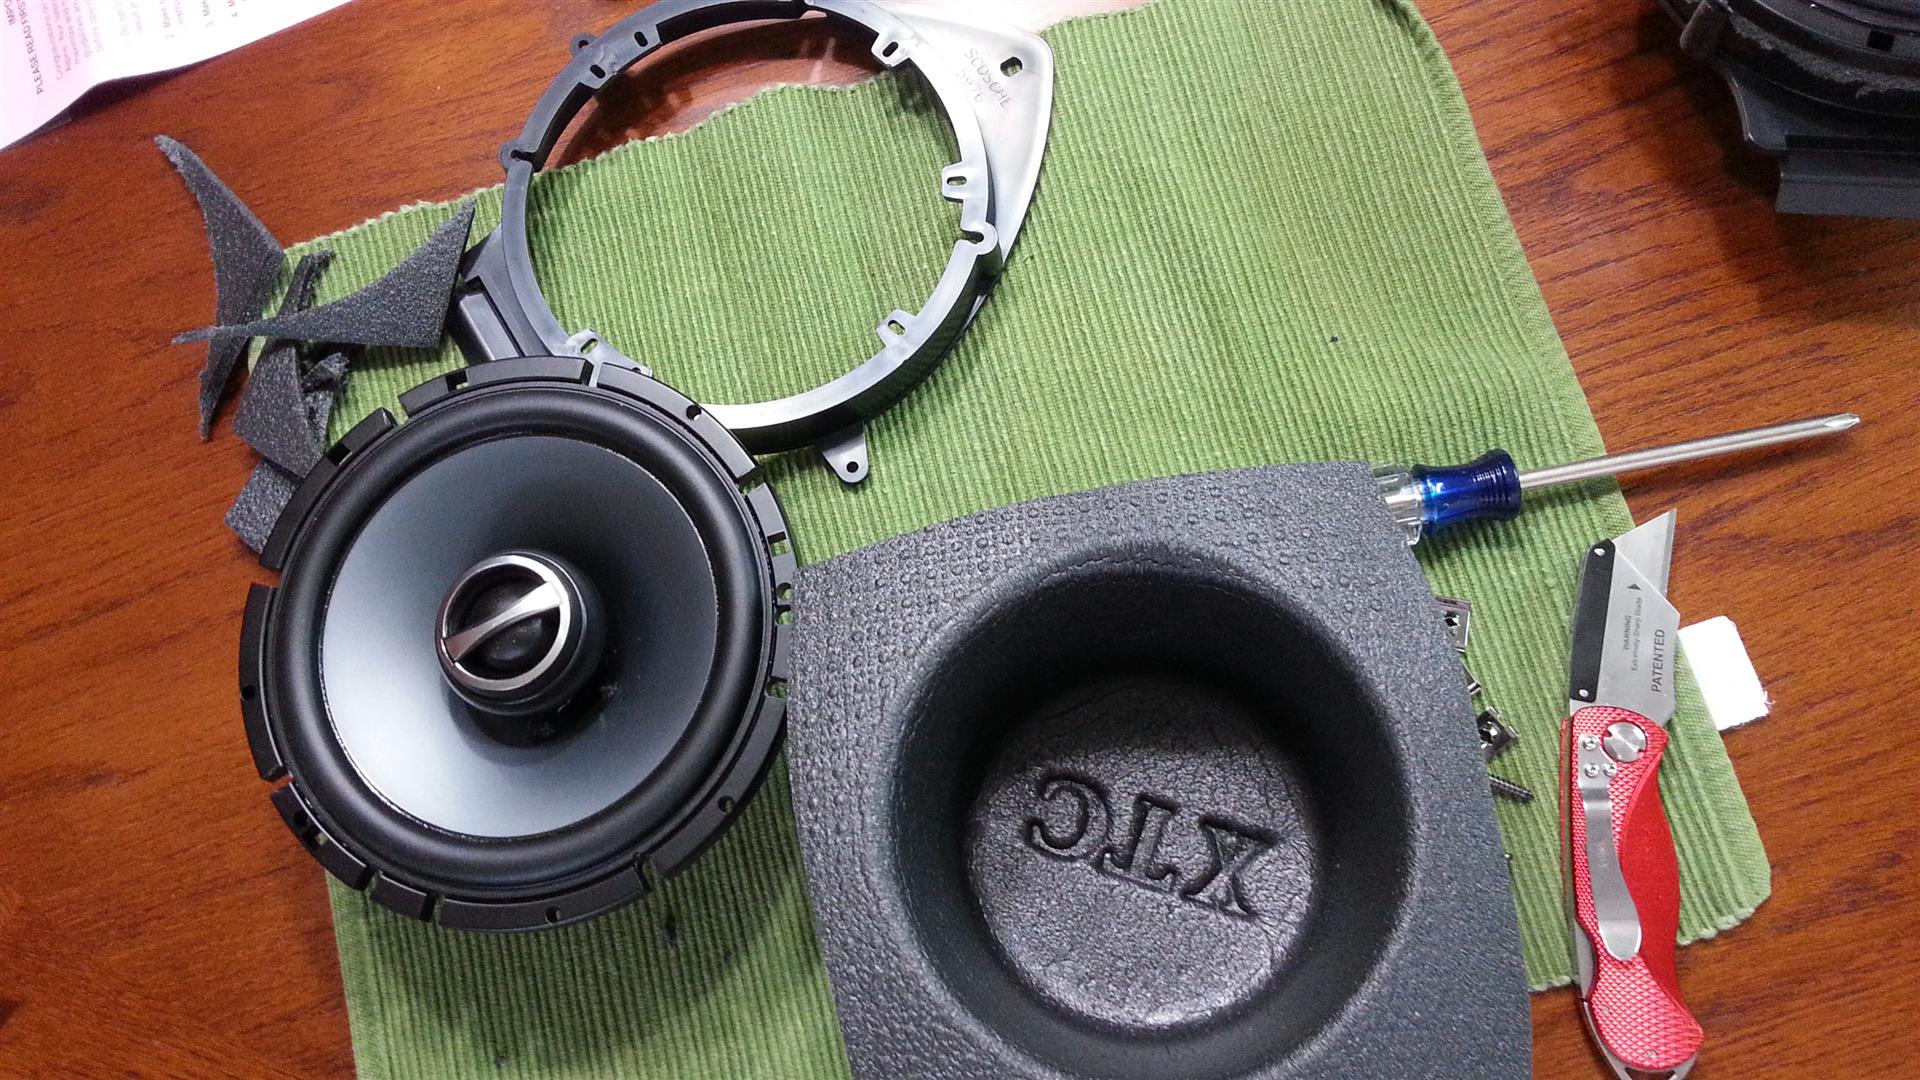
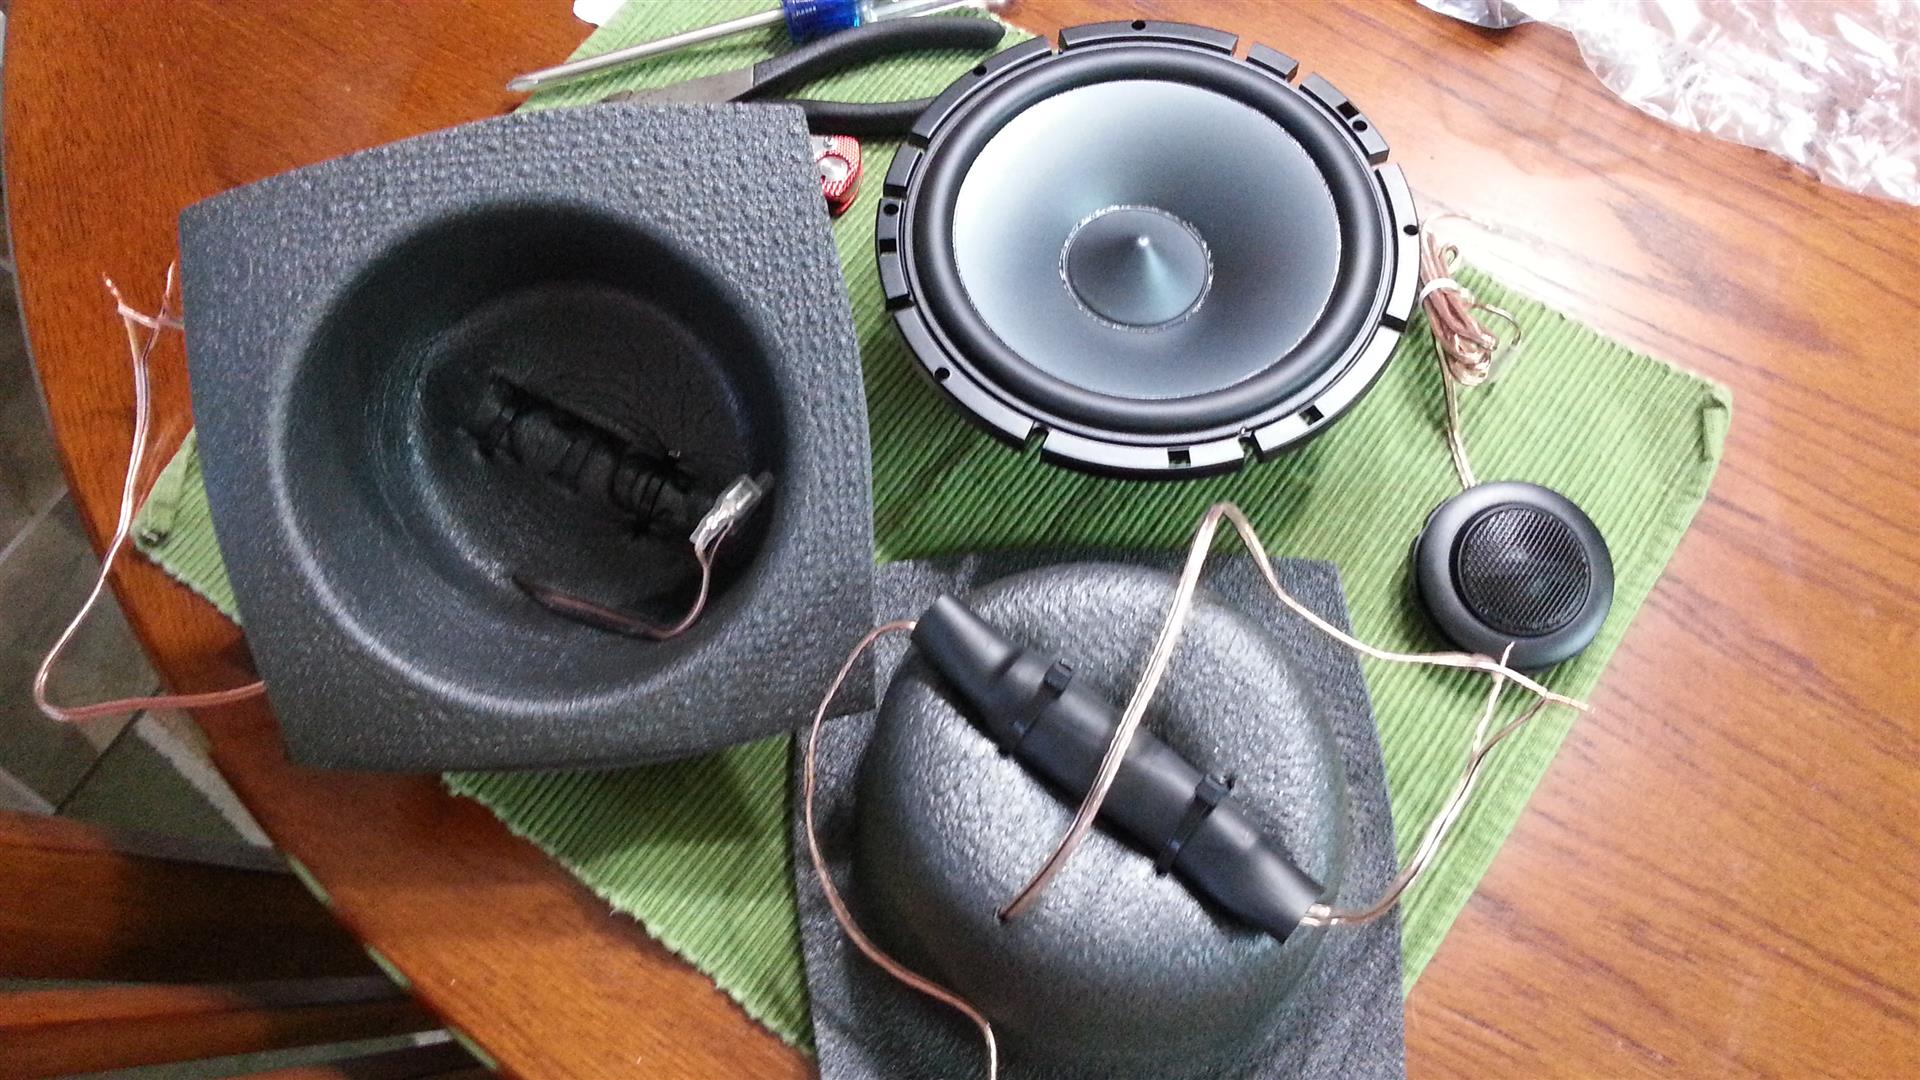
I used Scosche speaker adapters and XTC baffles for the door speakers. I didn't want to waste time trying to modify the stock mounting brackets, the Scosche adapters are $10 for 2, worth the time saved and the ability to put the speakers together inside in the a/c beforehand. The XTC baffles still allow the speaker to move since they aren't rigid, the foam expands and there are holes where the wires enter. It helps protect the speaker as well as dampen the sound radiated from the back of the speaker preventing phase distortion.
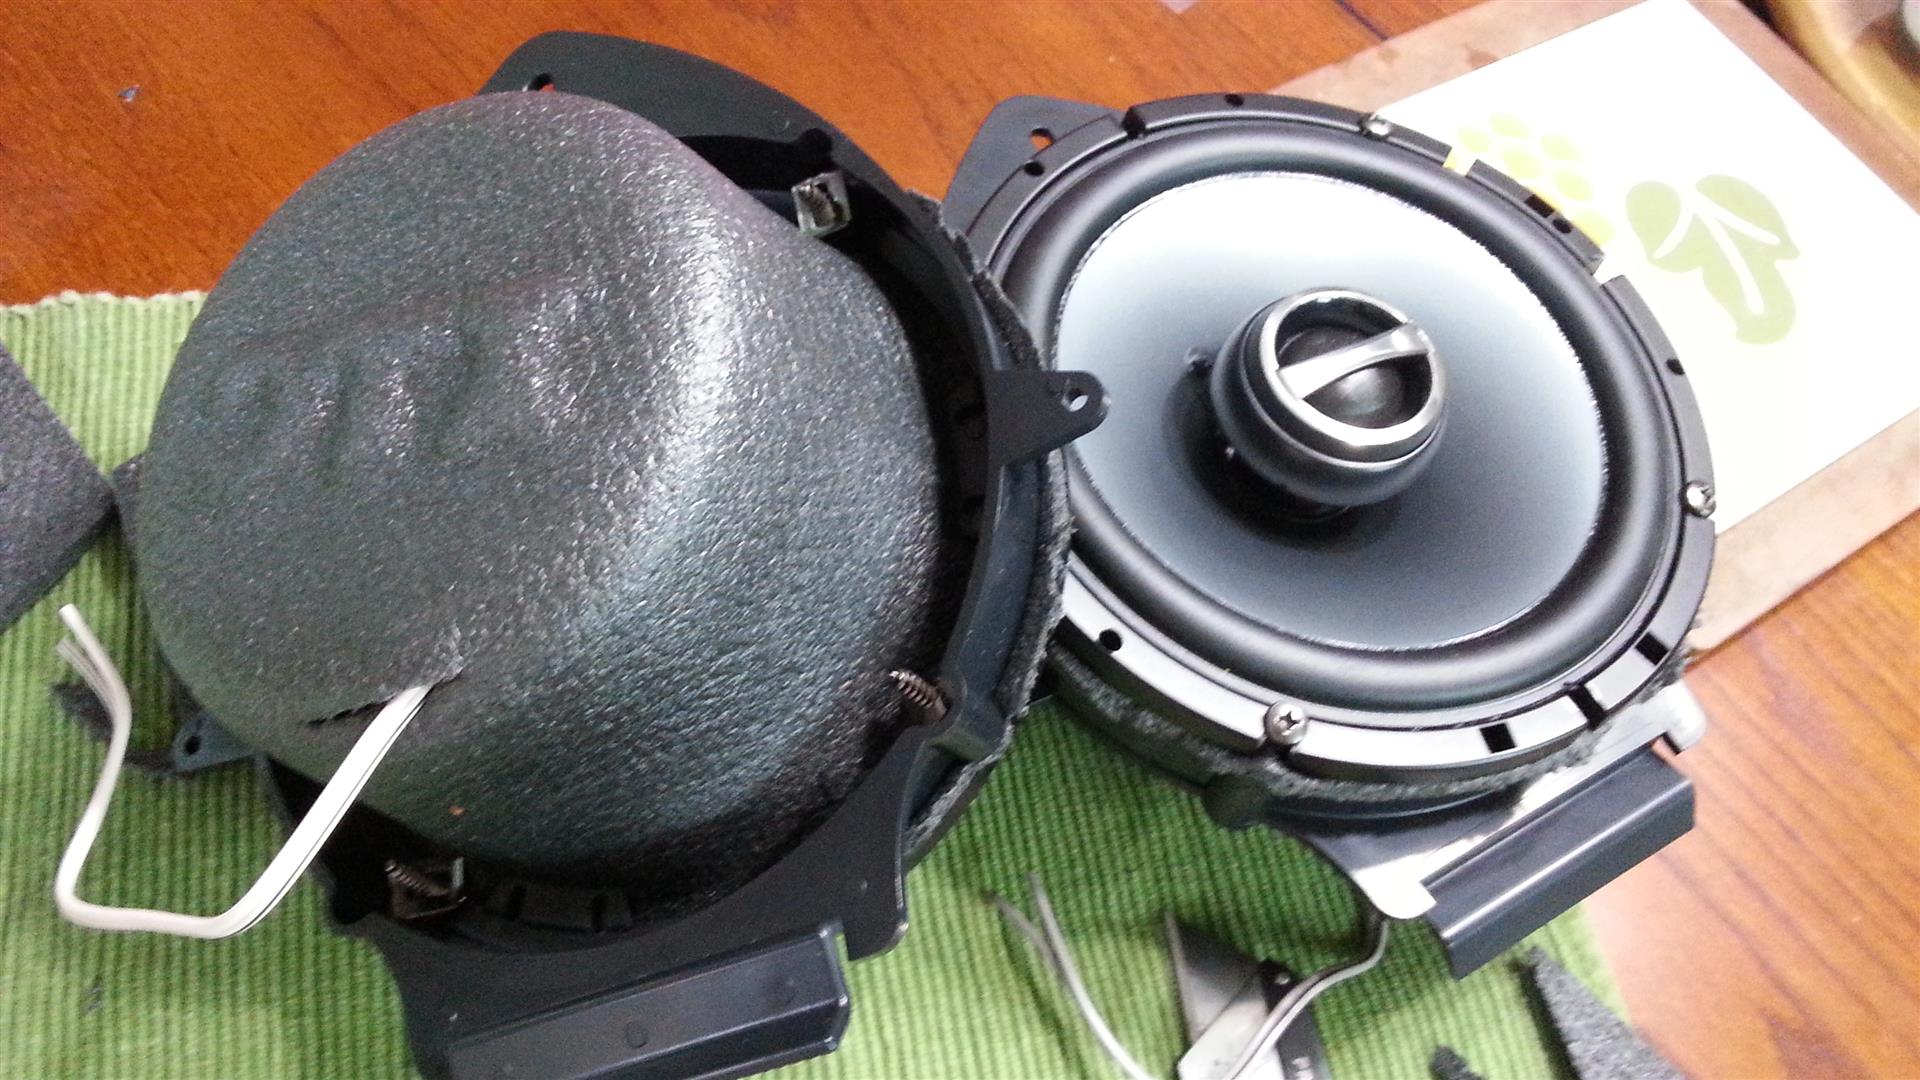
Rear speakers, coax.
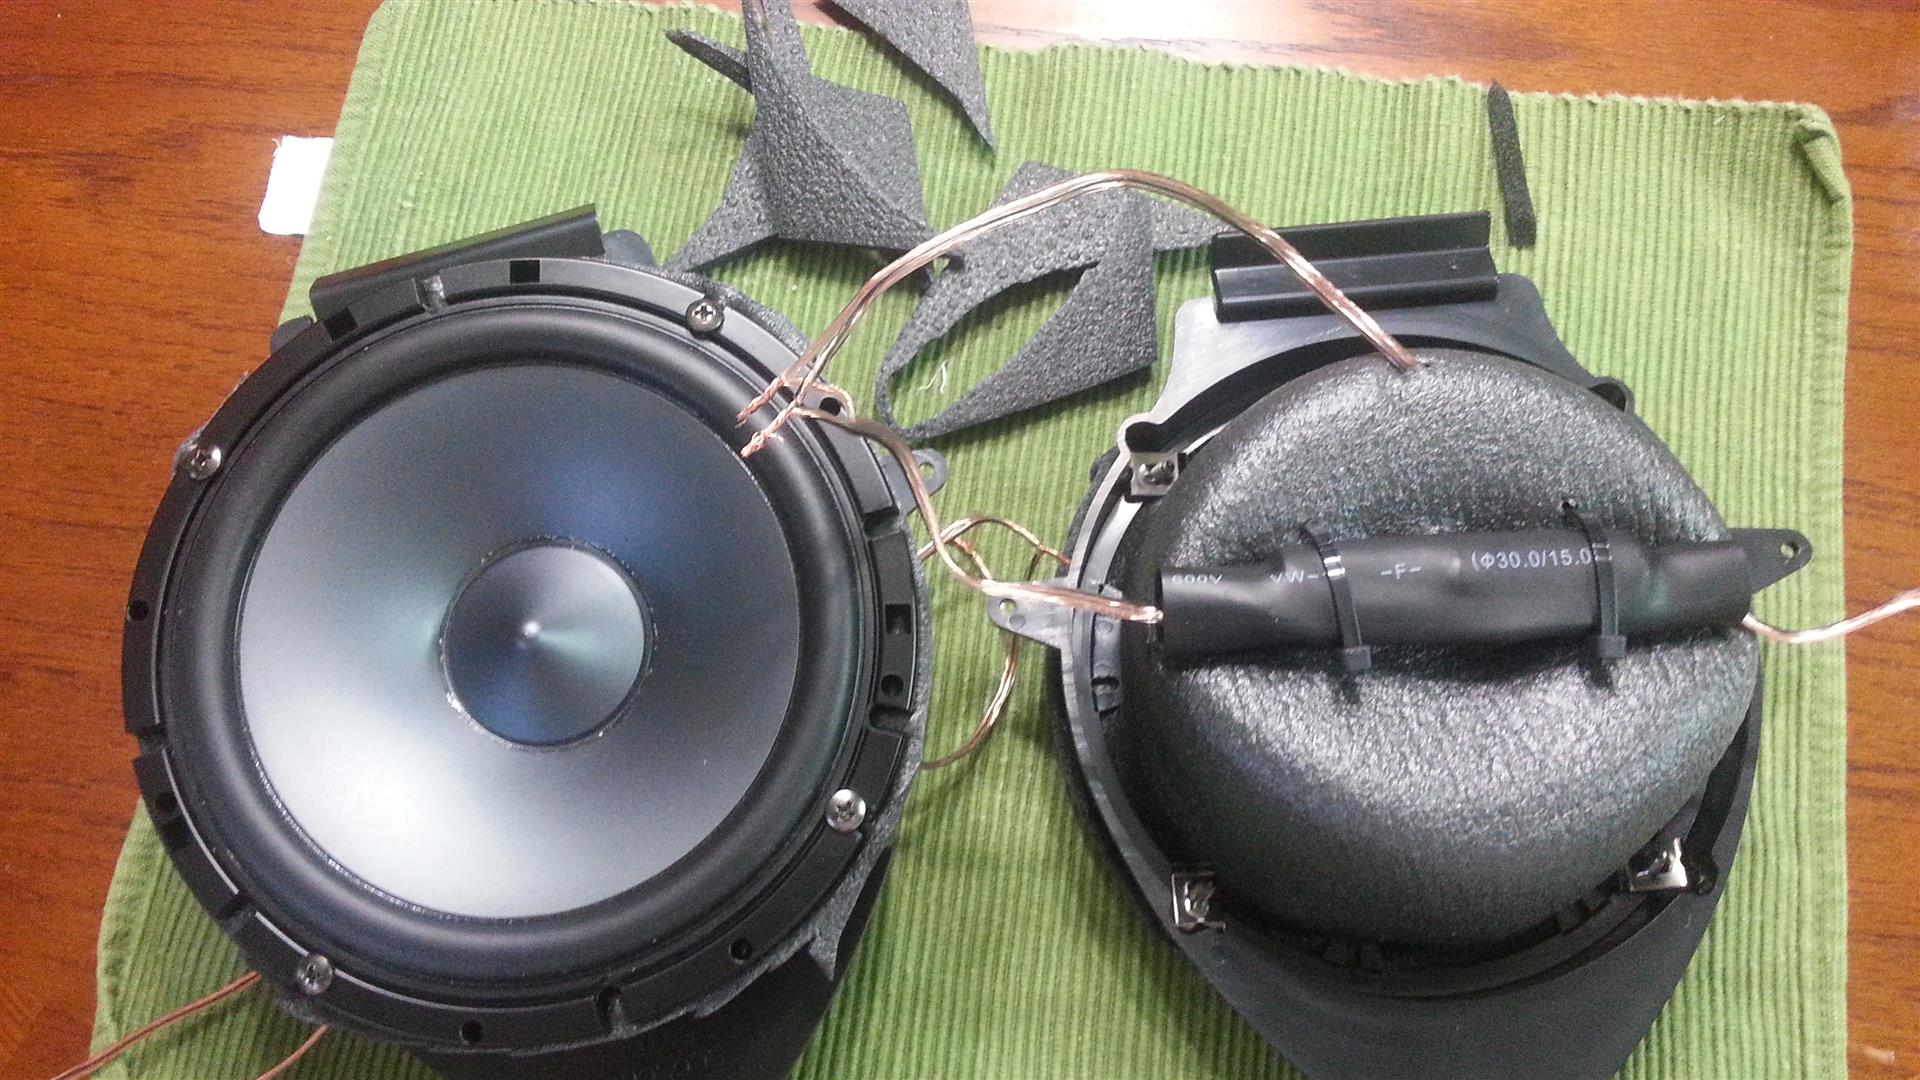
Front speakers, components. I attached the crossovers to the back.
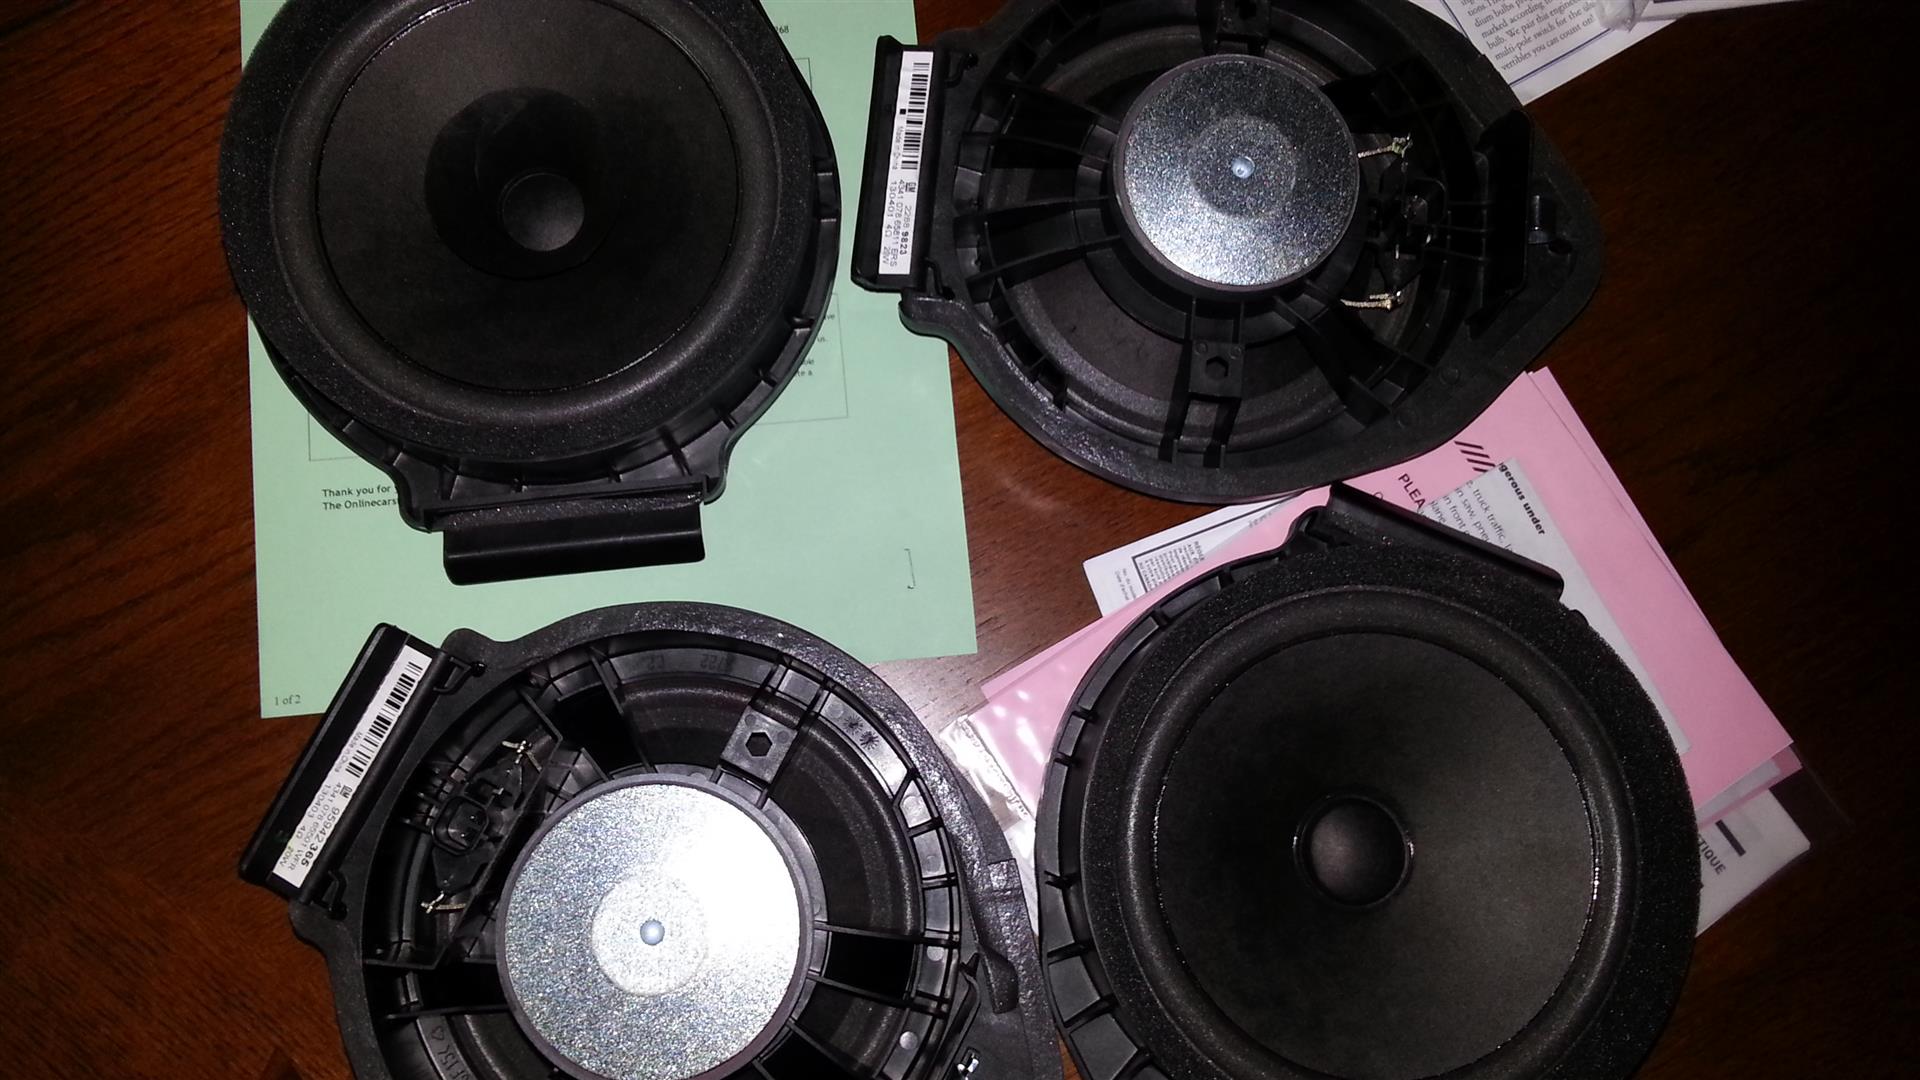
For comparison here are the anemic paper cone stock speakers. I thought whizzer cones went extinct in the 70s.
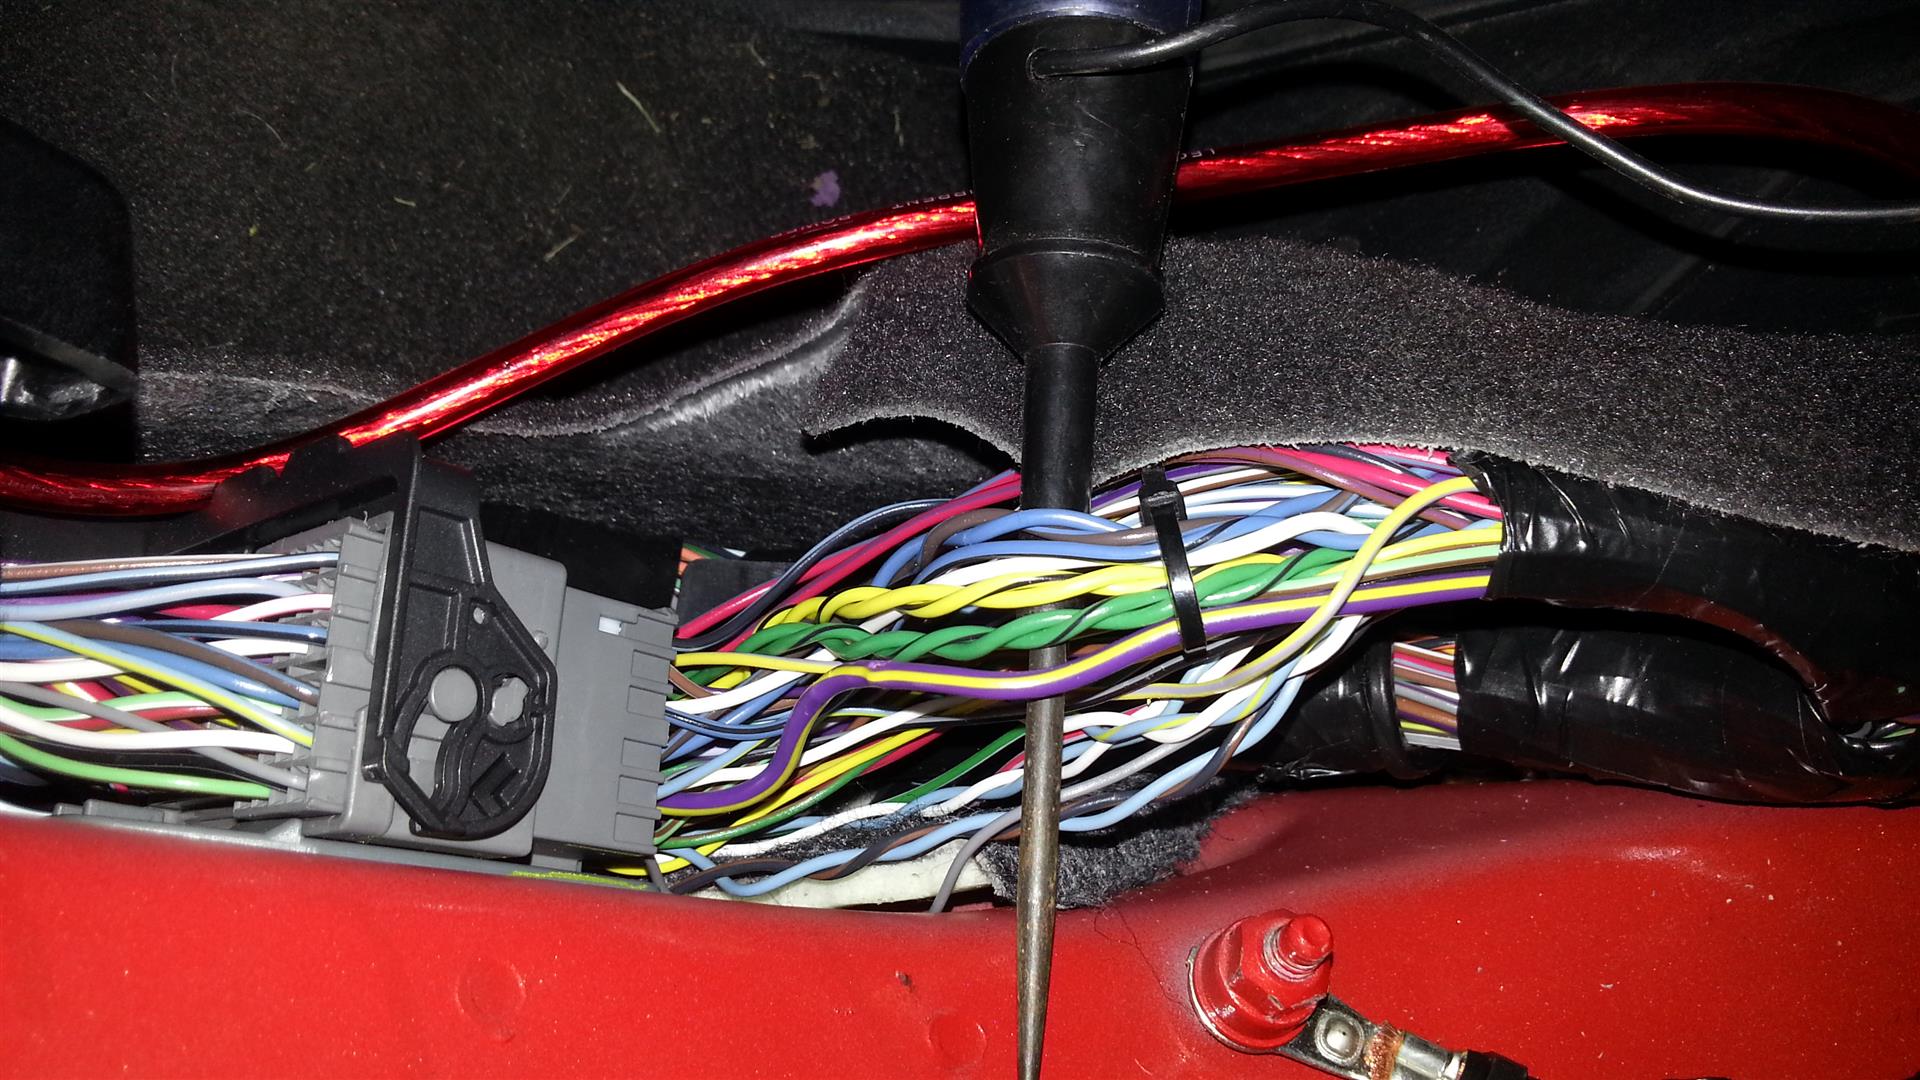
Now comes the installation. After removing the driver kick panel you will need to find the correct wires. The speaker wire colors can be readily found in the forum. The purple wire with the yellow stripe is where you can connect your remote wire. It runs to the console socket but just tap in here to keep from running a wire to the console.
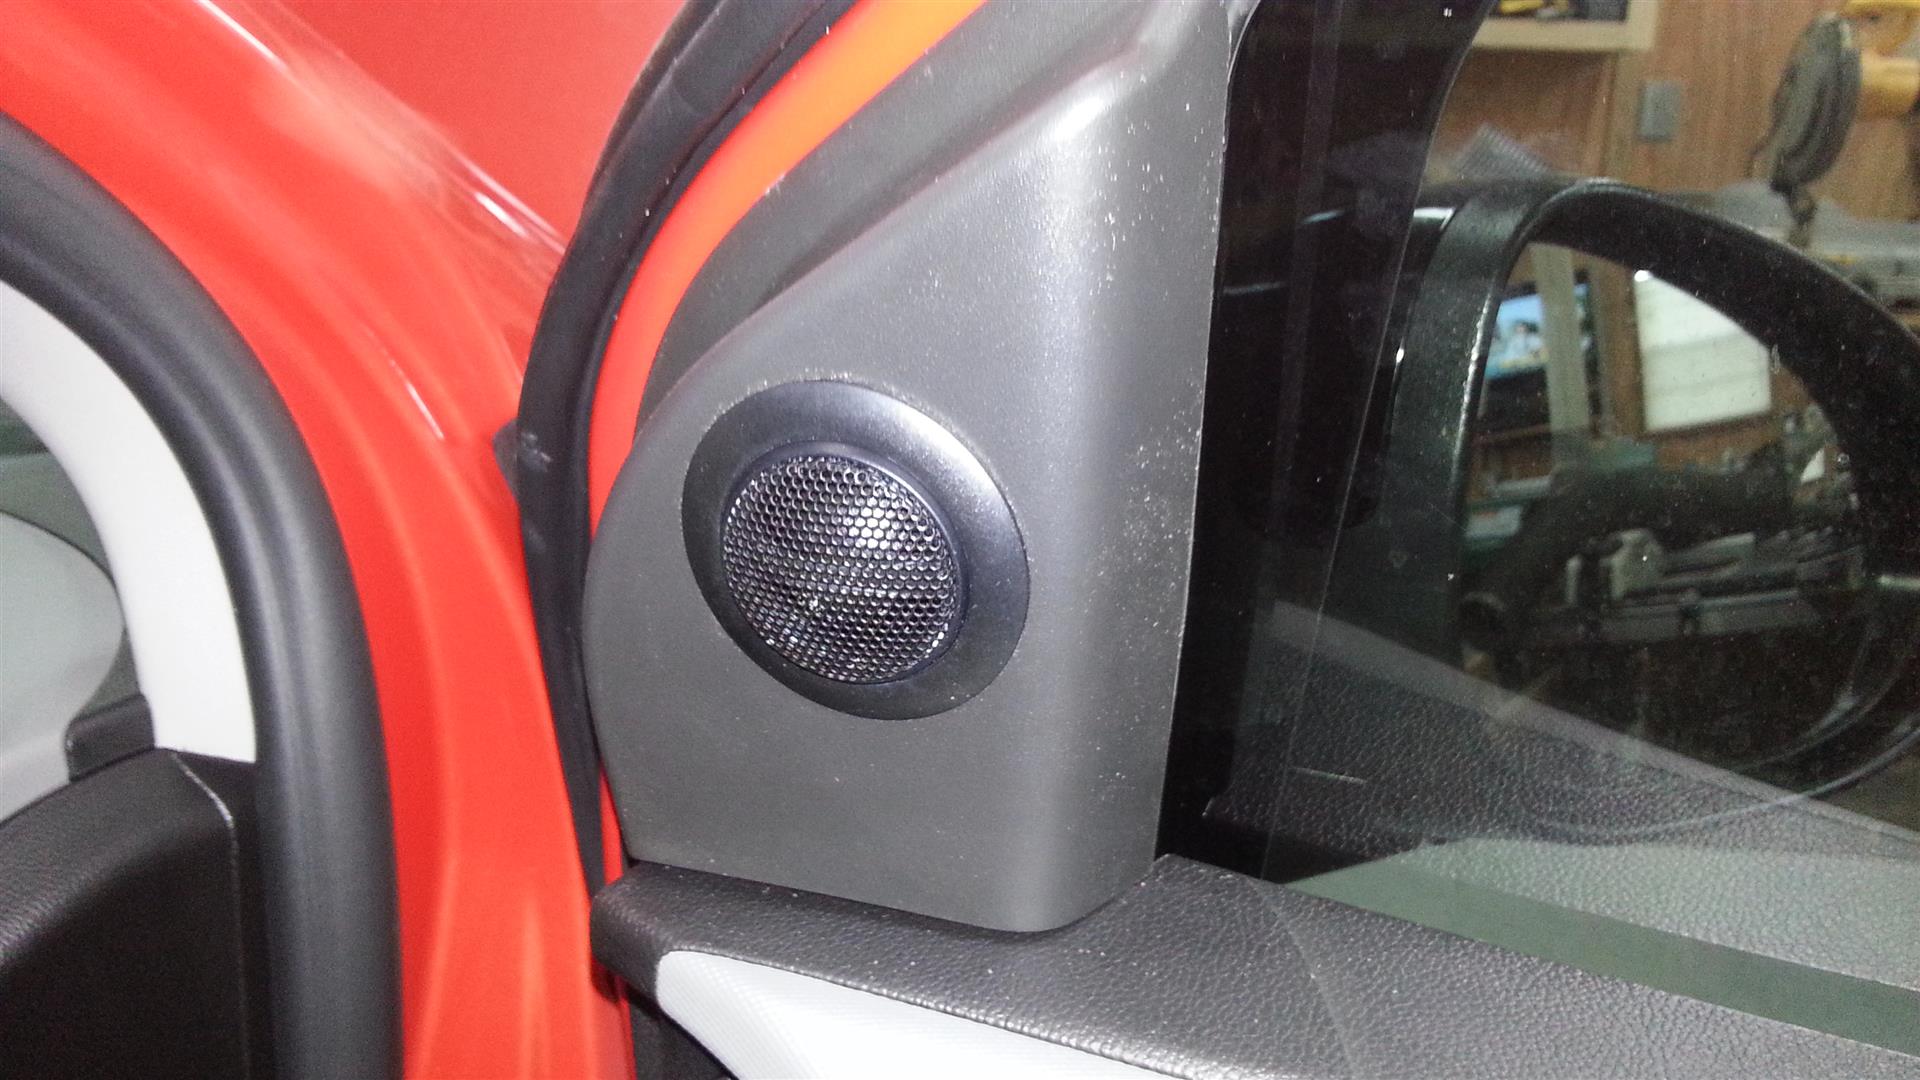
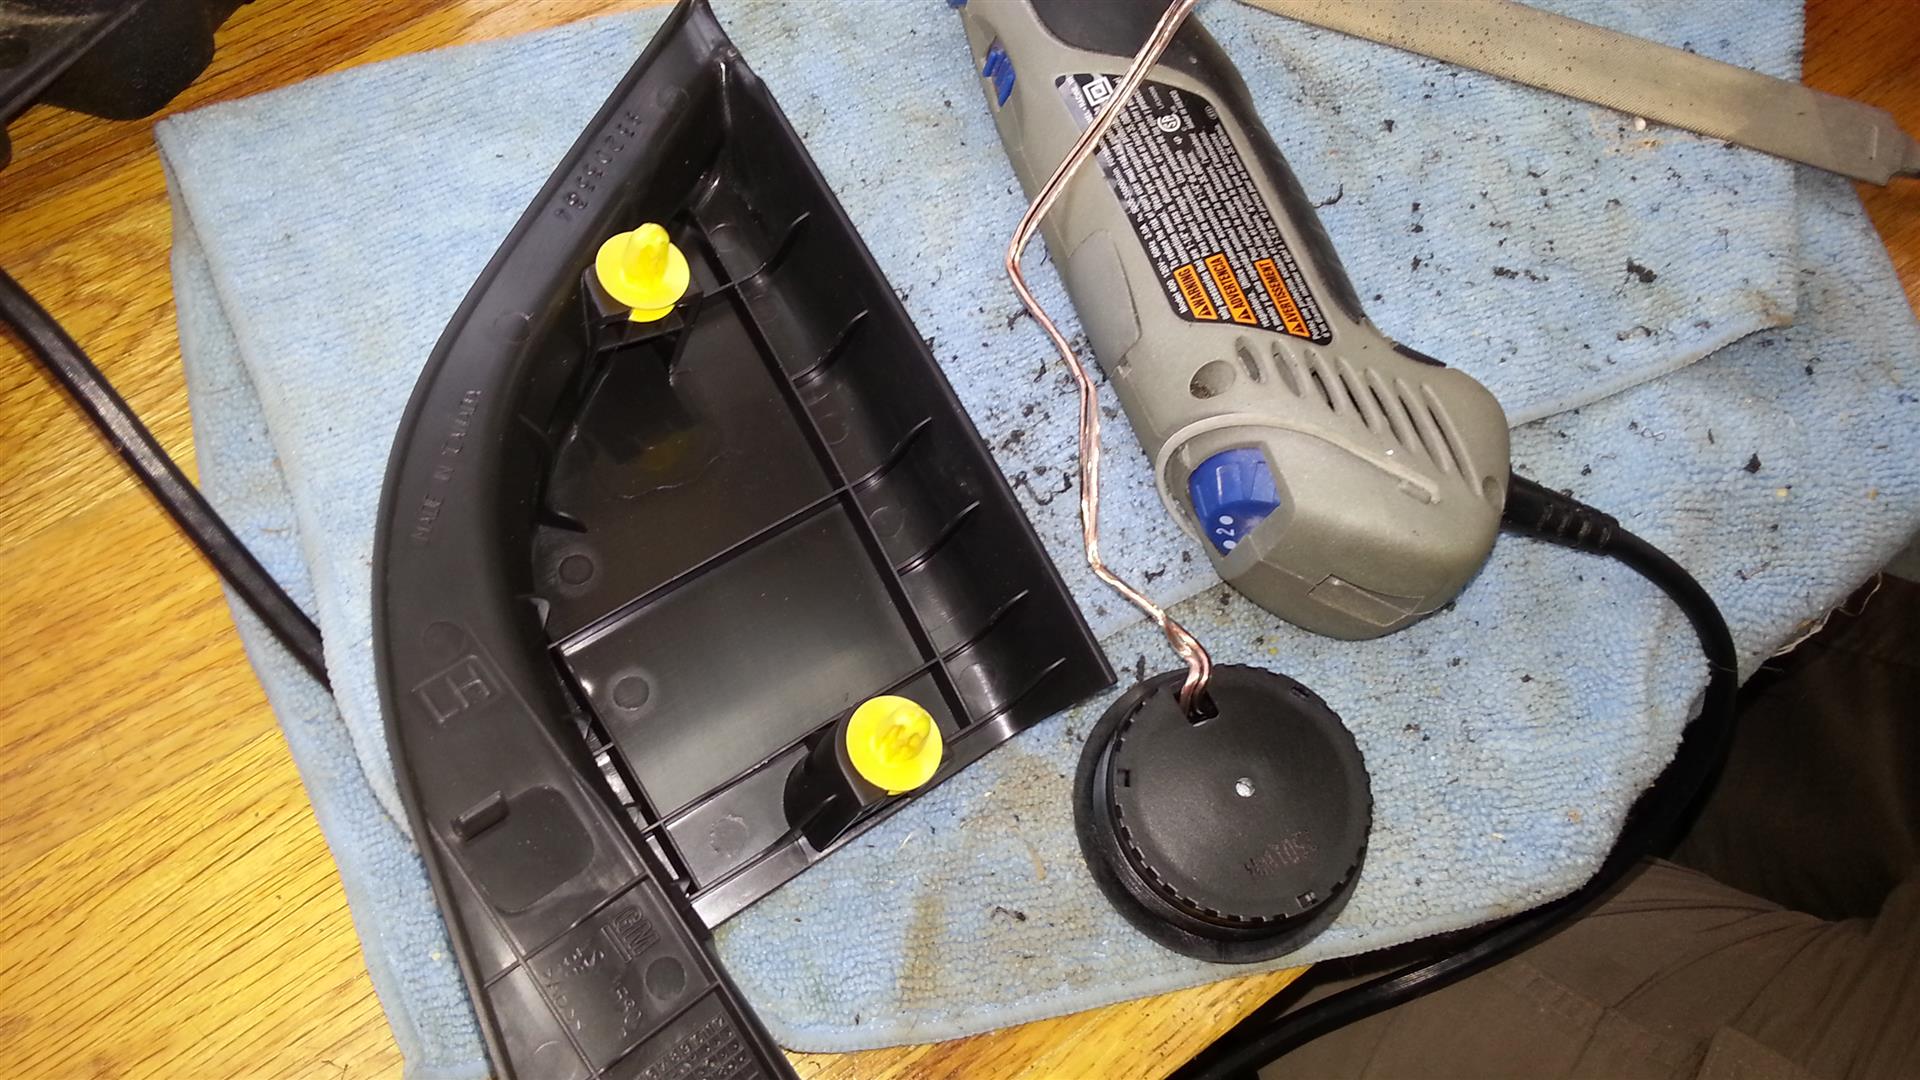
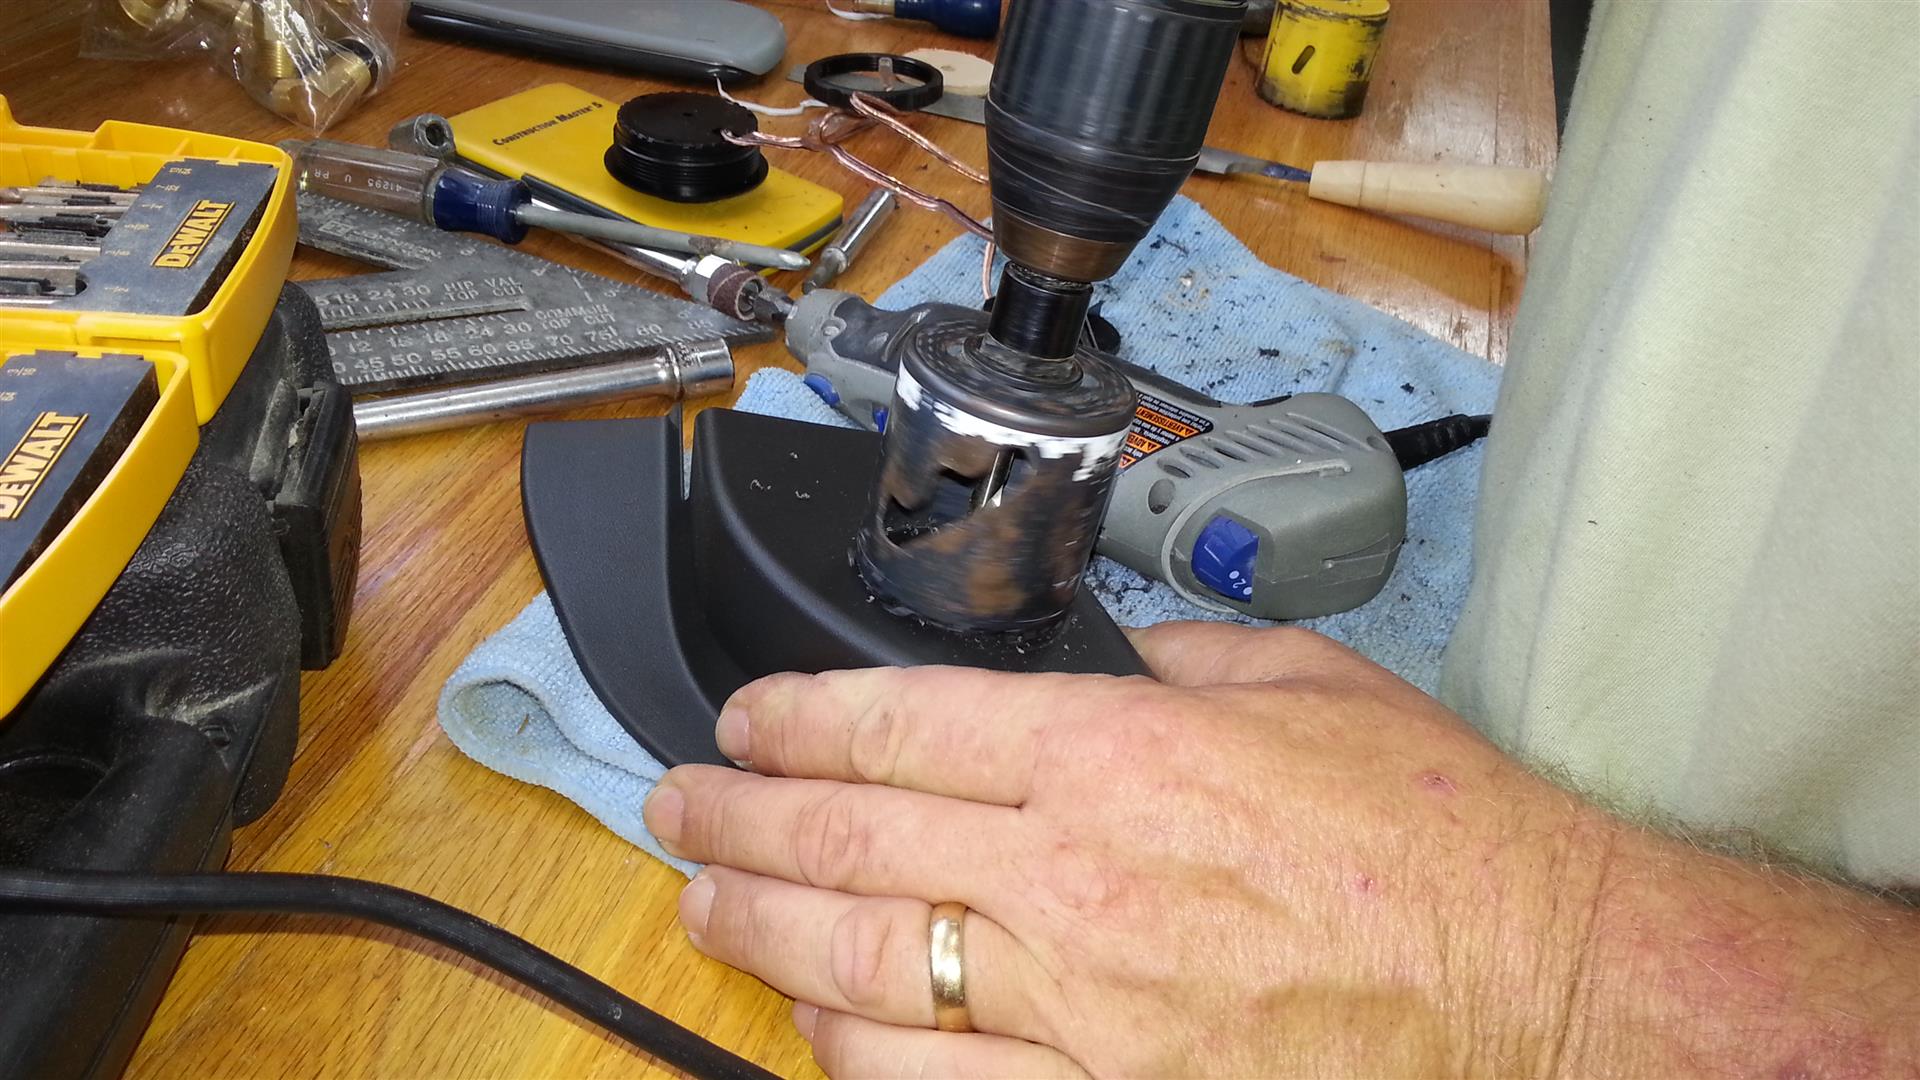
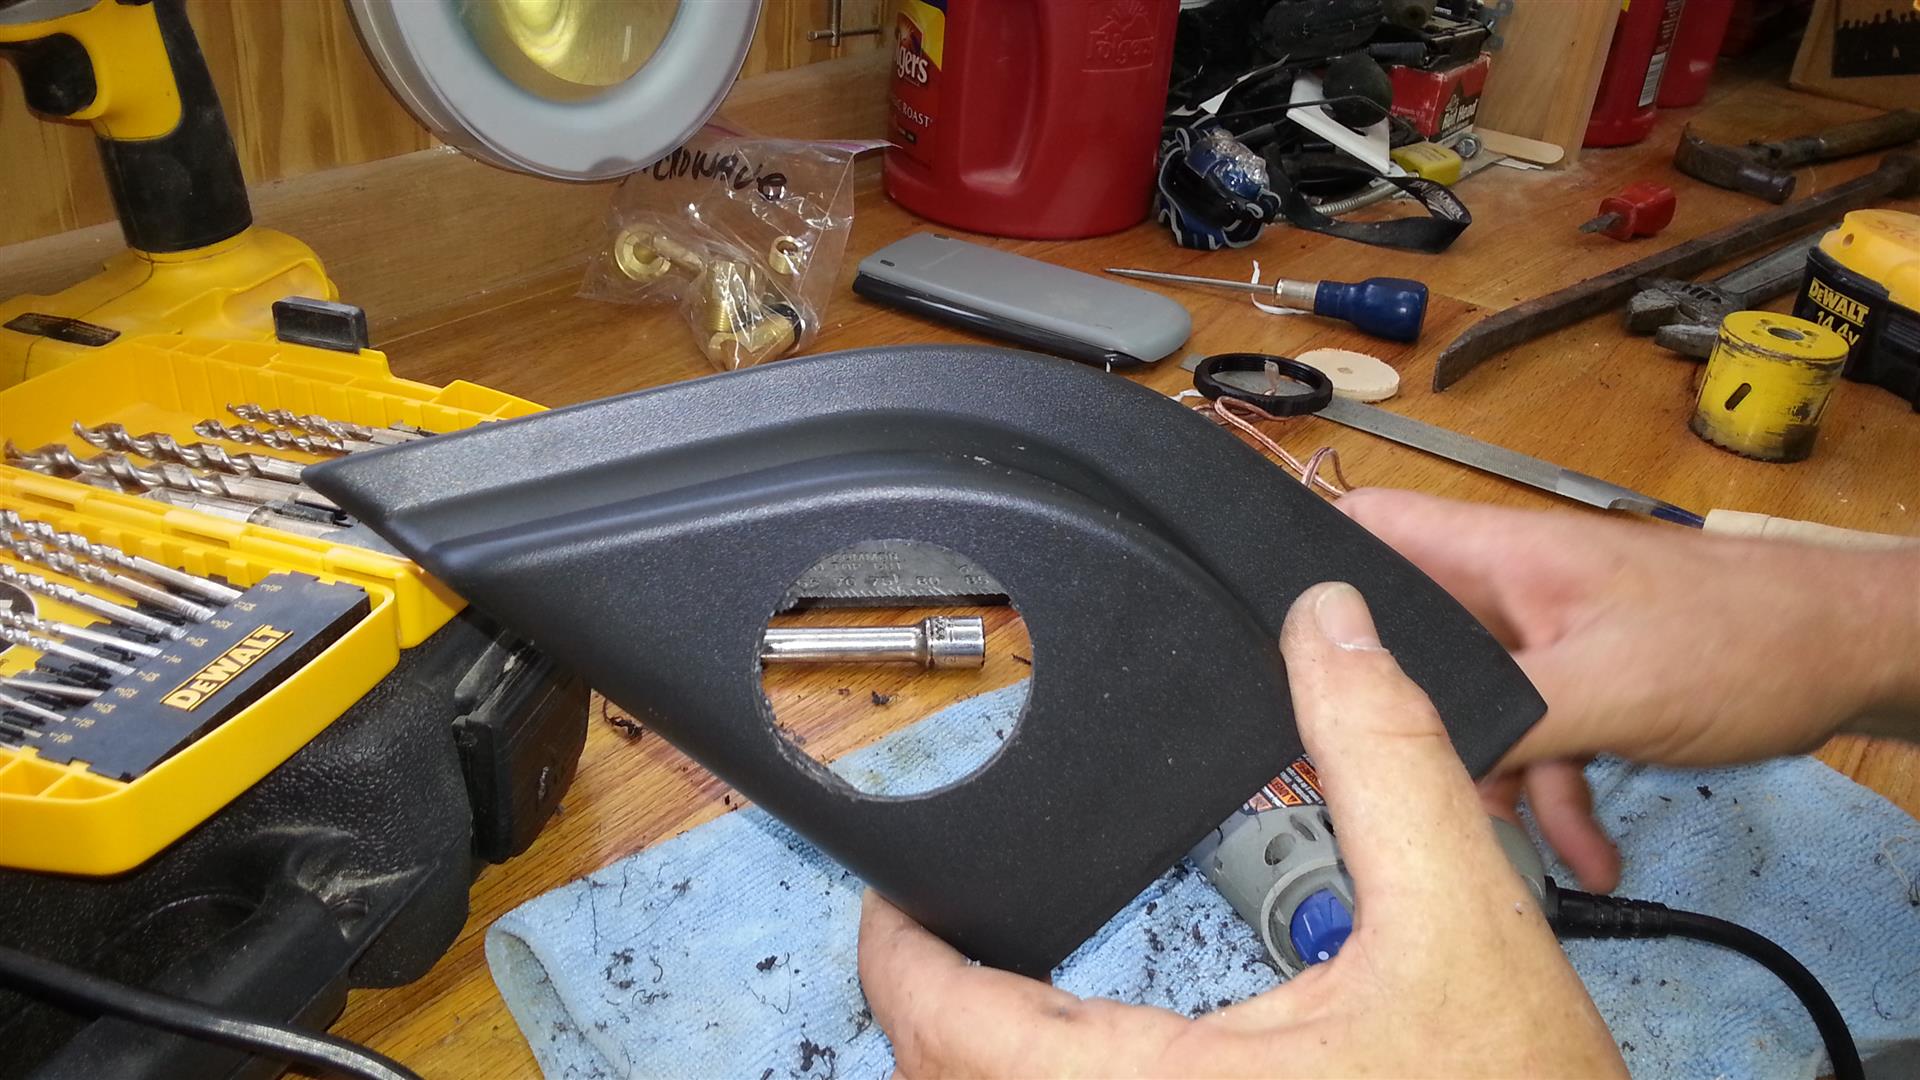
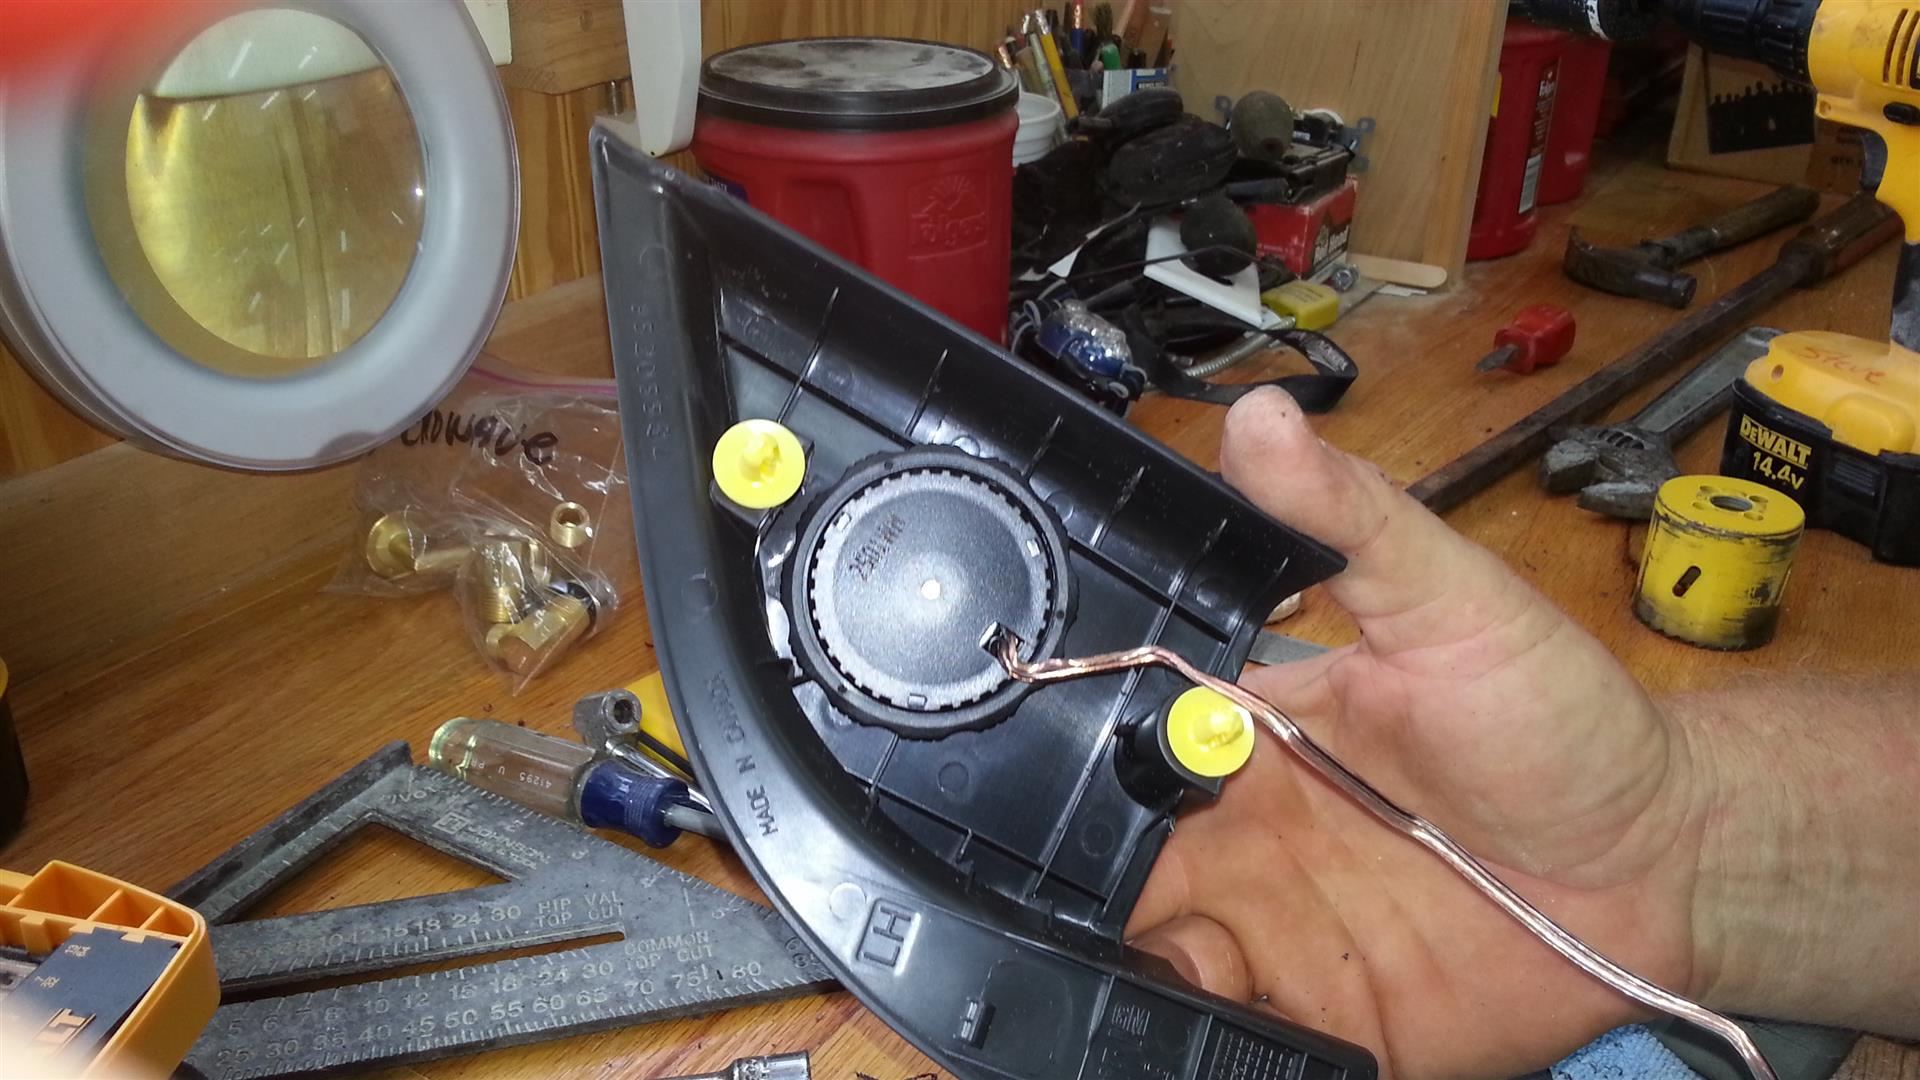
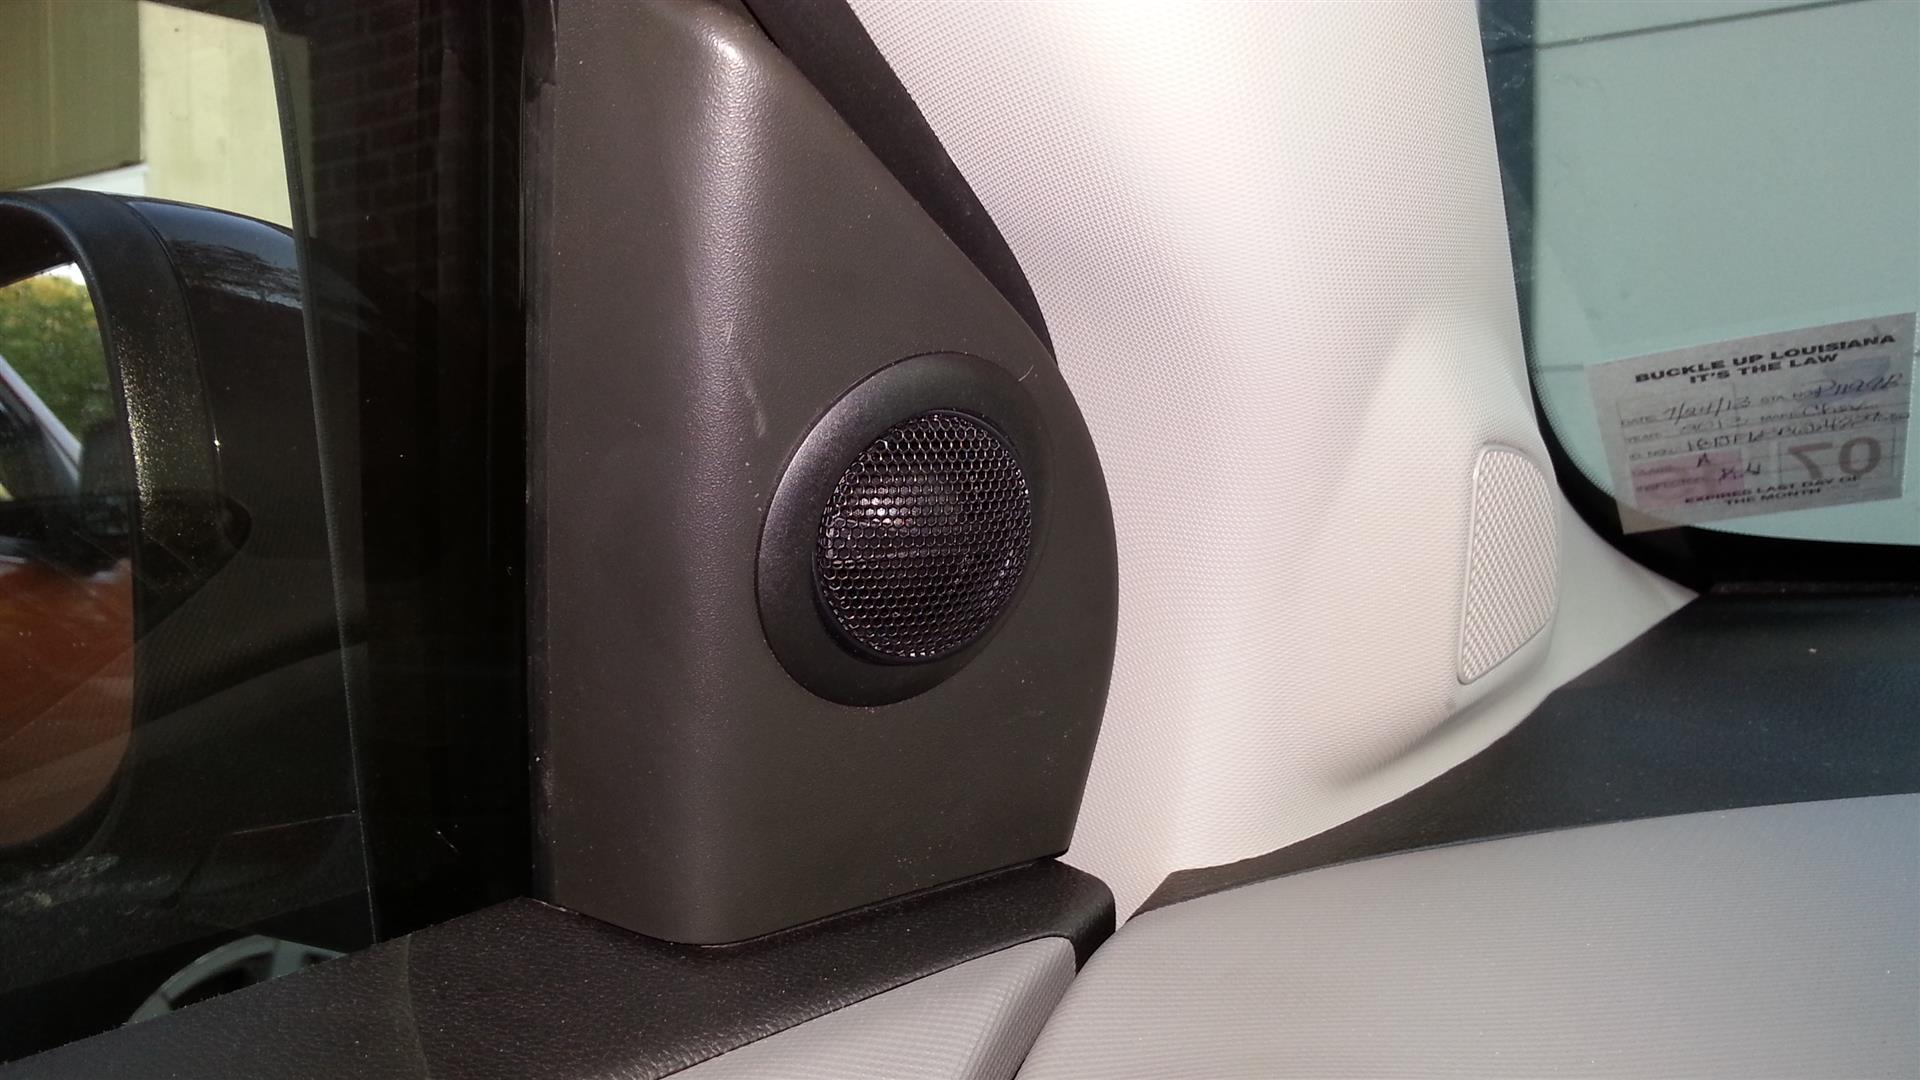
The tweeters for the front speakers I mounted in the panel opposite the mirror. I think they look great there, like factory. I wasn't about to mess with the pillar plastic where the stock tweeter is mounted because of the air bag. I got this idea from another post on the forum. I would give credit but I can't remember their name and the search on this forum without tags sucks. Edit: I found the thread and name, it was djhatch and the thread is http://www.sonicownersforum.com/forum/do-yourself-articles/3431-huge-stereo-install.html
Here my wires are all soldered and ready for testing before heating the shrink wrap. I am using the front 2 channels to drive channels 1 and 2 of the amp and the rear 2 to drive channels 3 and 4. I then ran 14ga back to the factory speaker wires from channels 1 and 2. This sets the door speakers up in parallel presenting a 2 ohm load to the amp. Since I'm not running 1000 watts (only about 90RMS/channel) to the door speakers, I didn't feel the need to run new speaker wires. I hooked up the sub to channels 3 and 4 in bridged mode giving it about 175RMS. This allows me to use the fader in the radio to balance the sub.
Ready to test.
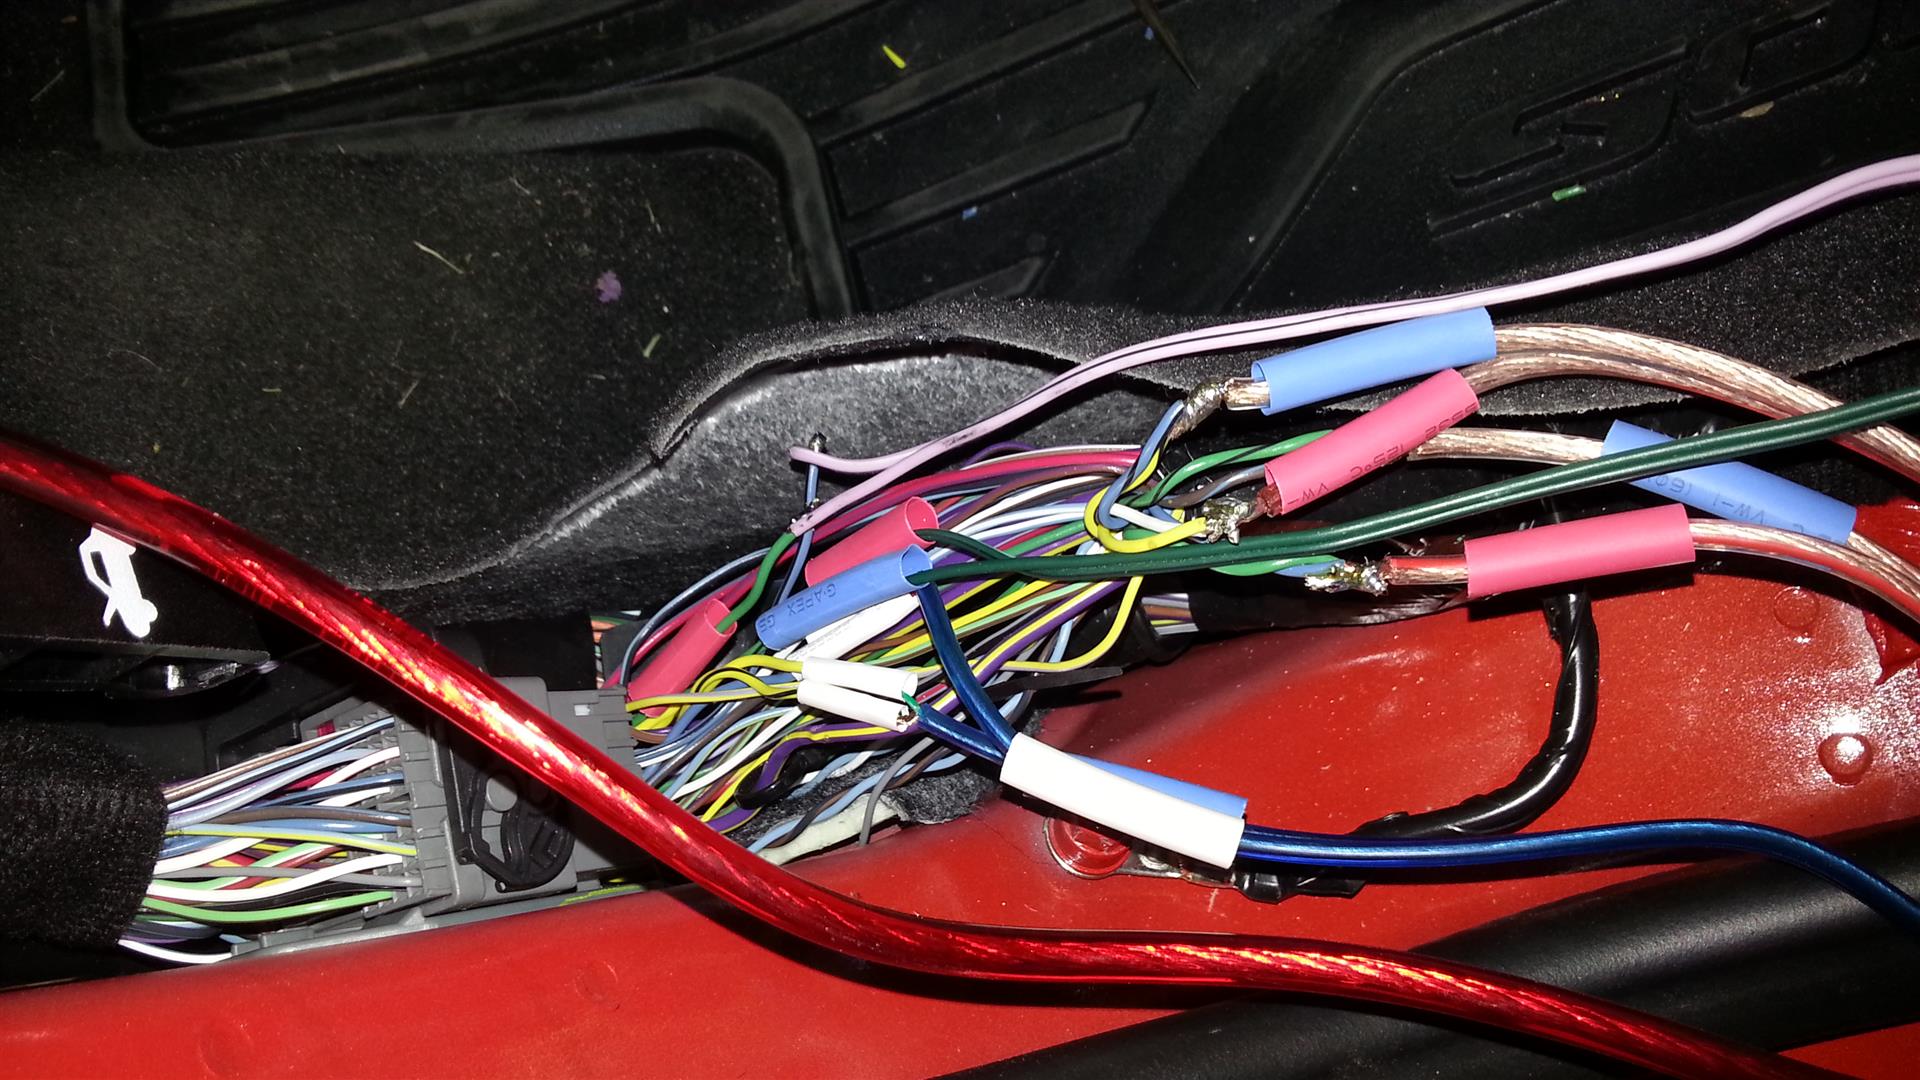
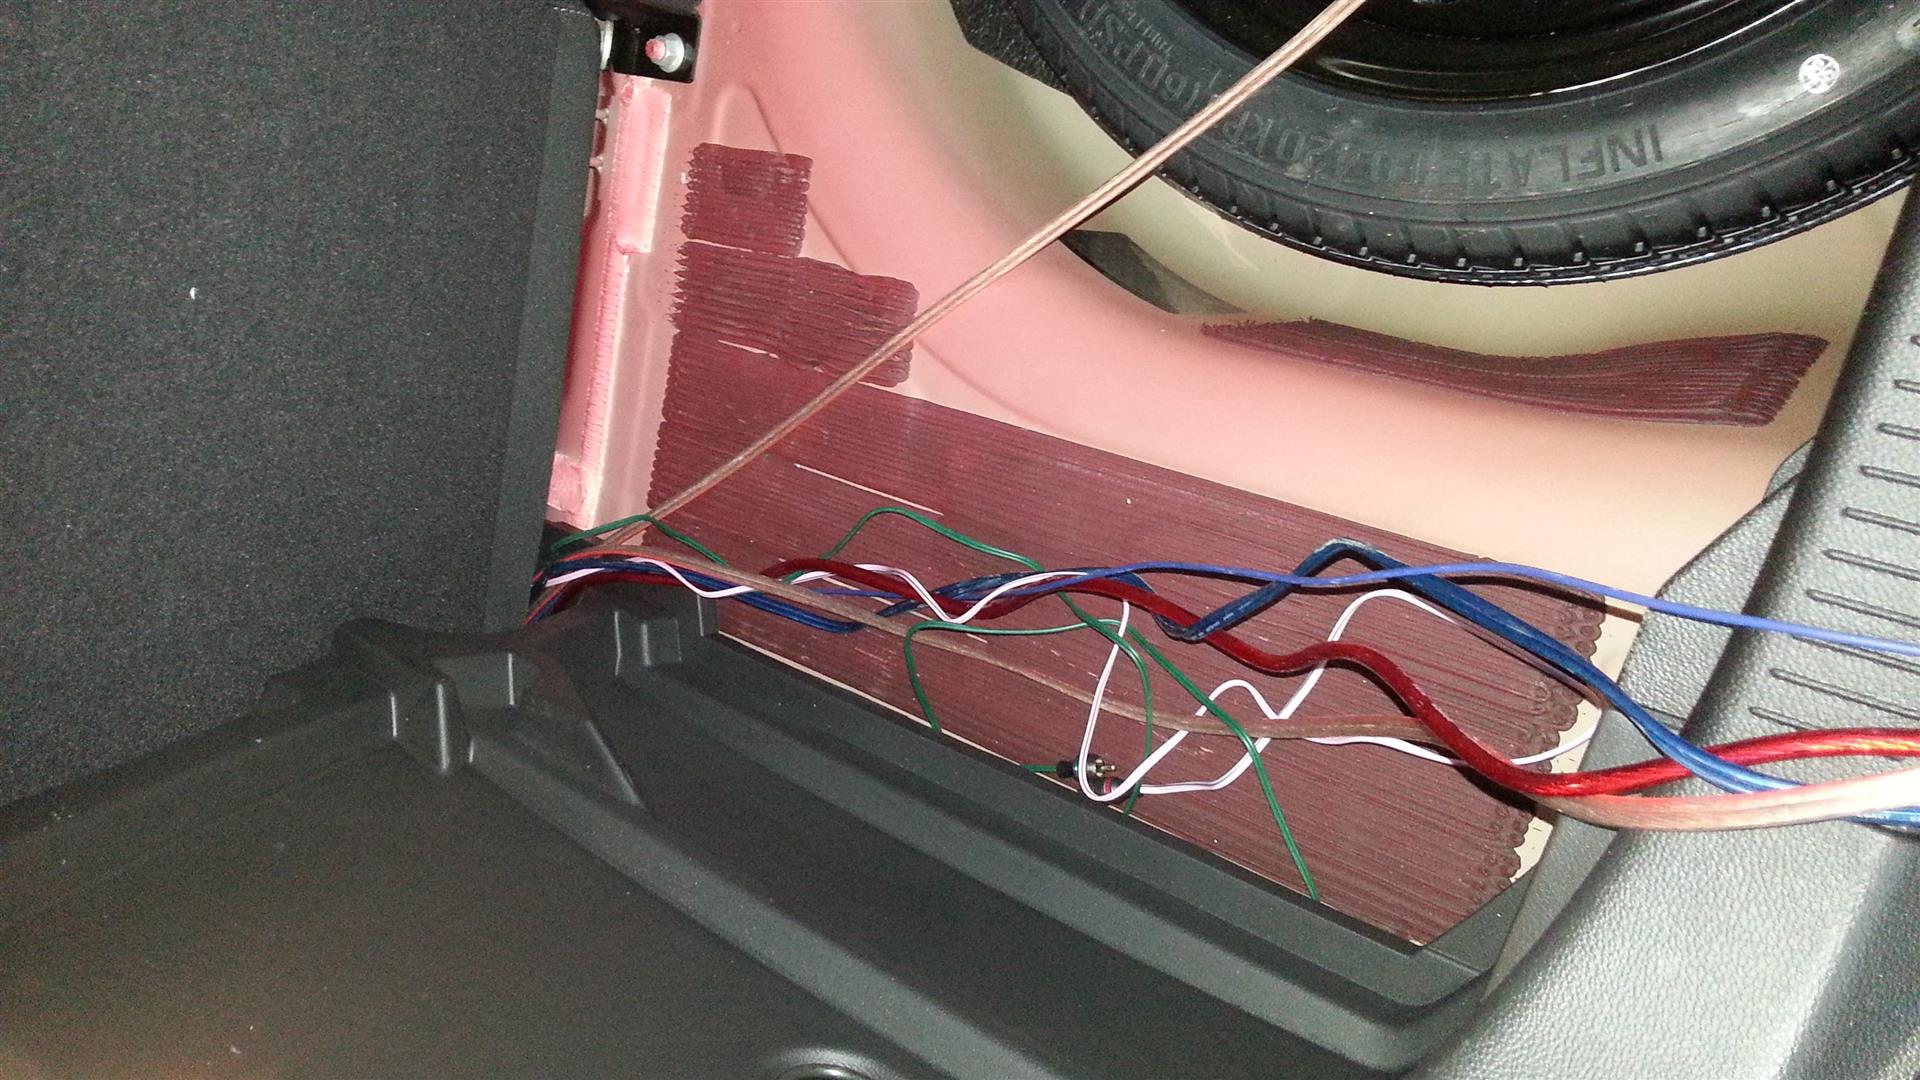
The wires in the hatch ready to start connecting.
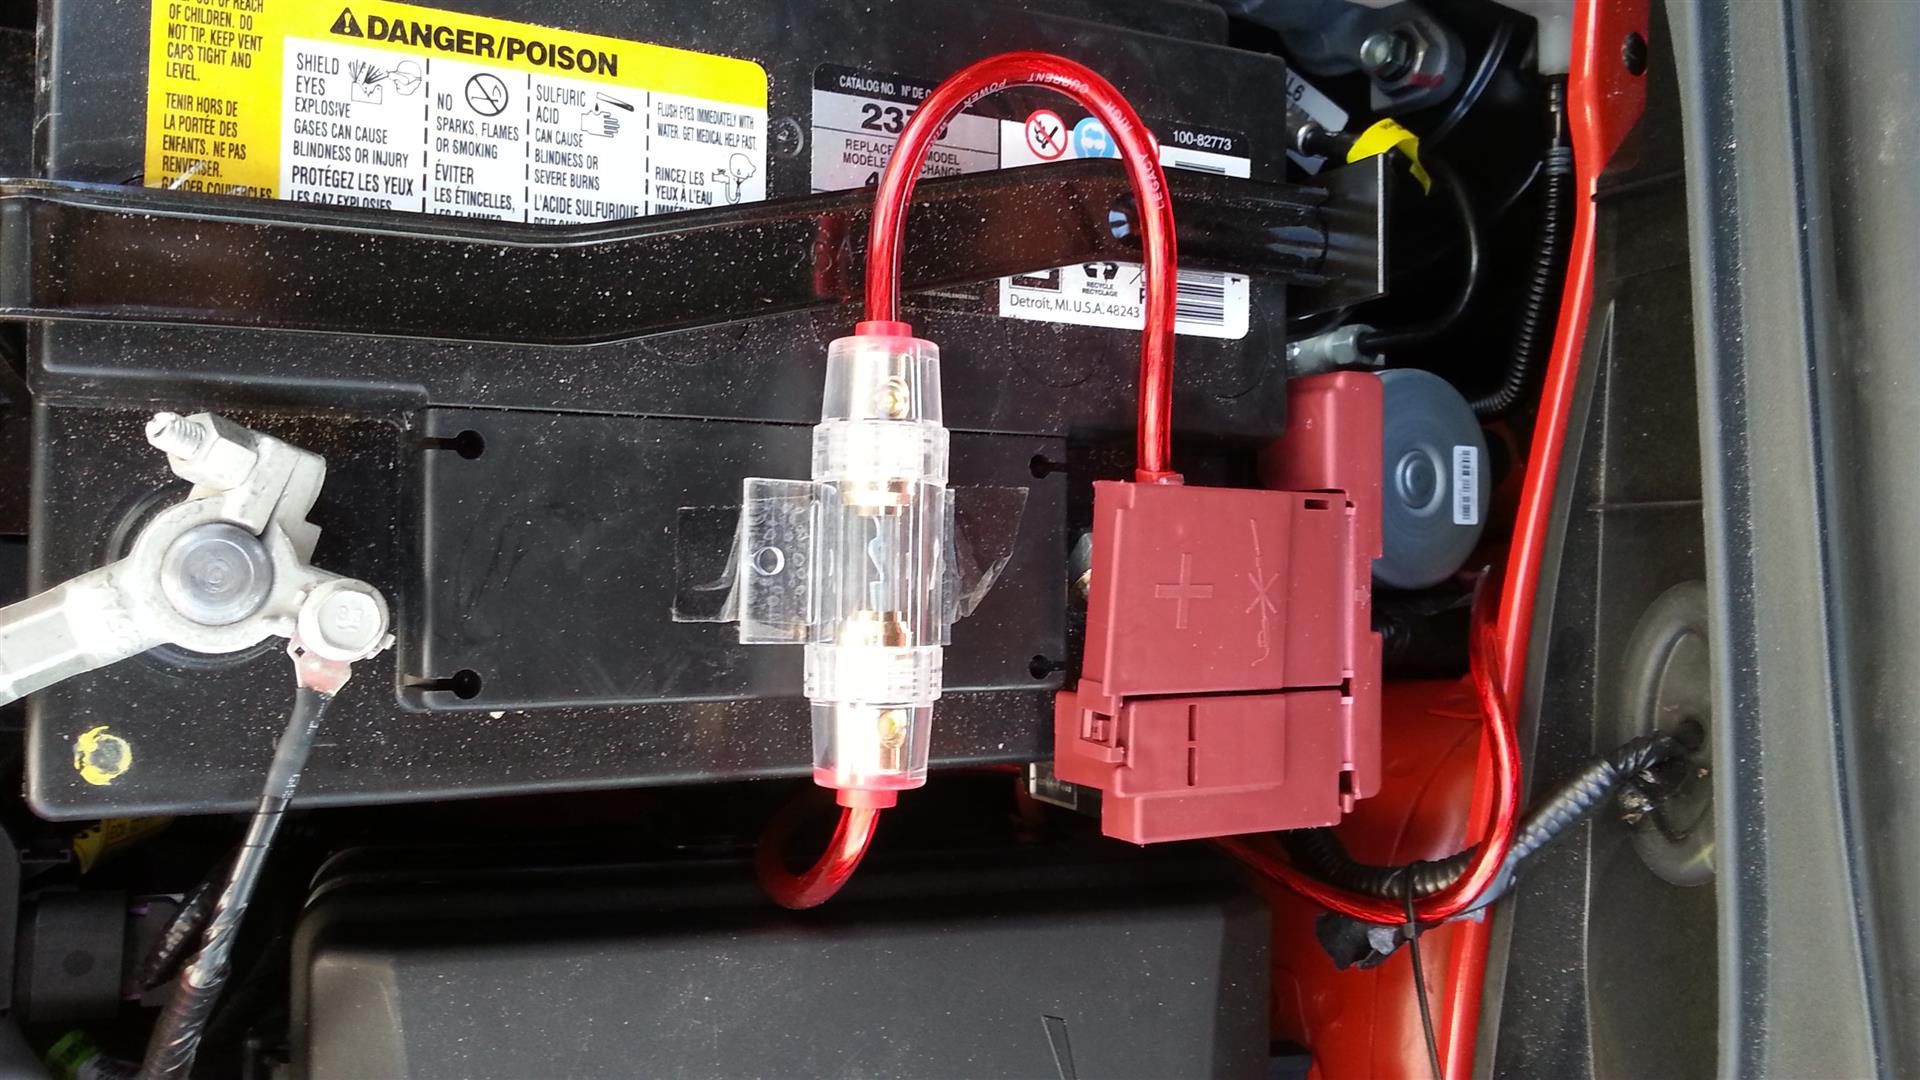
Fuse connected to the battery. I will be putting loom on this wire after I'm happy with the placement.
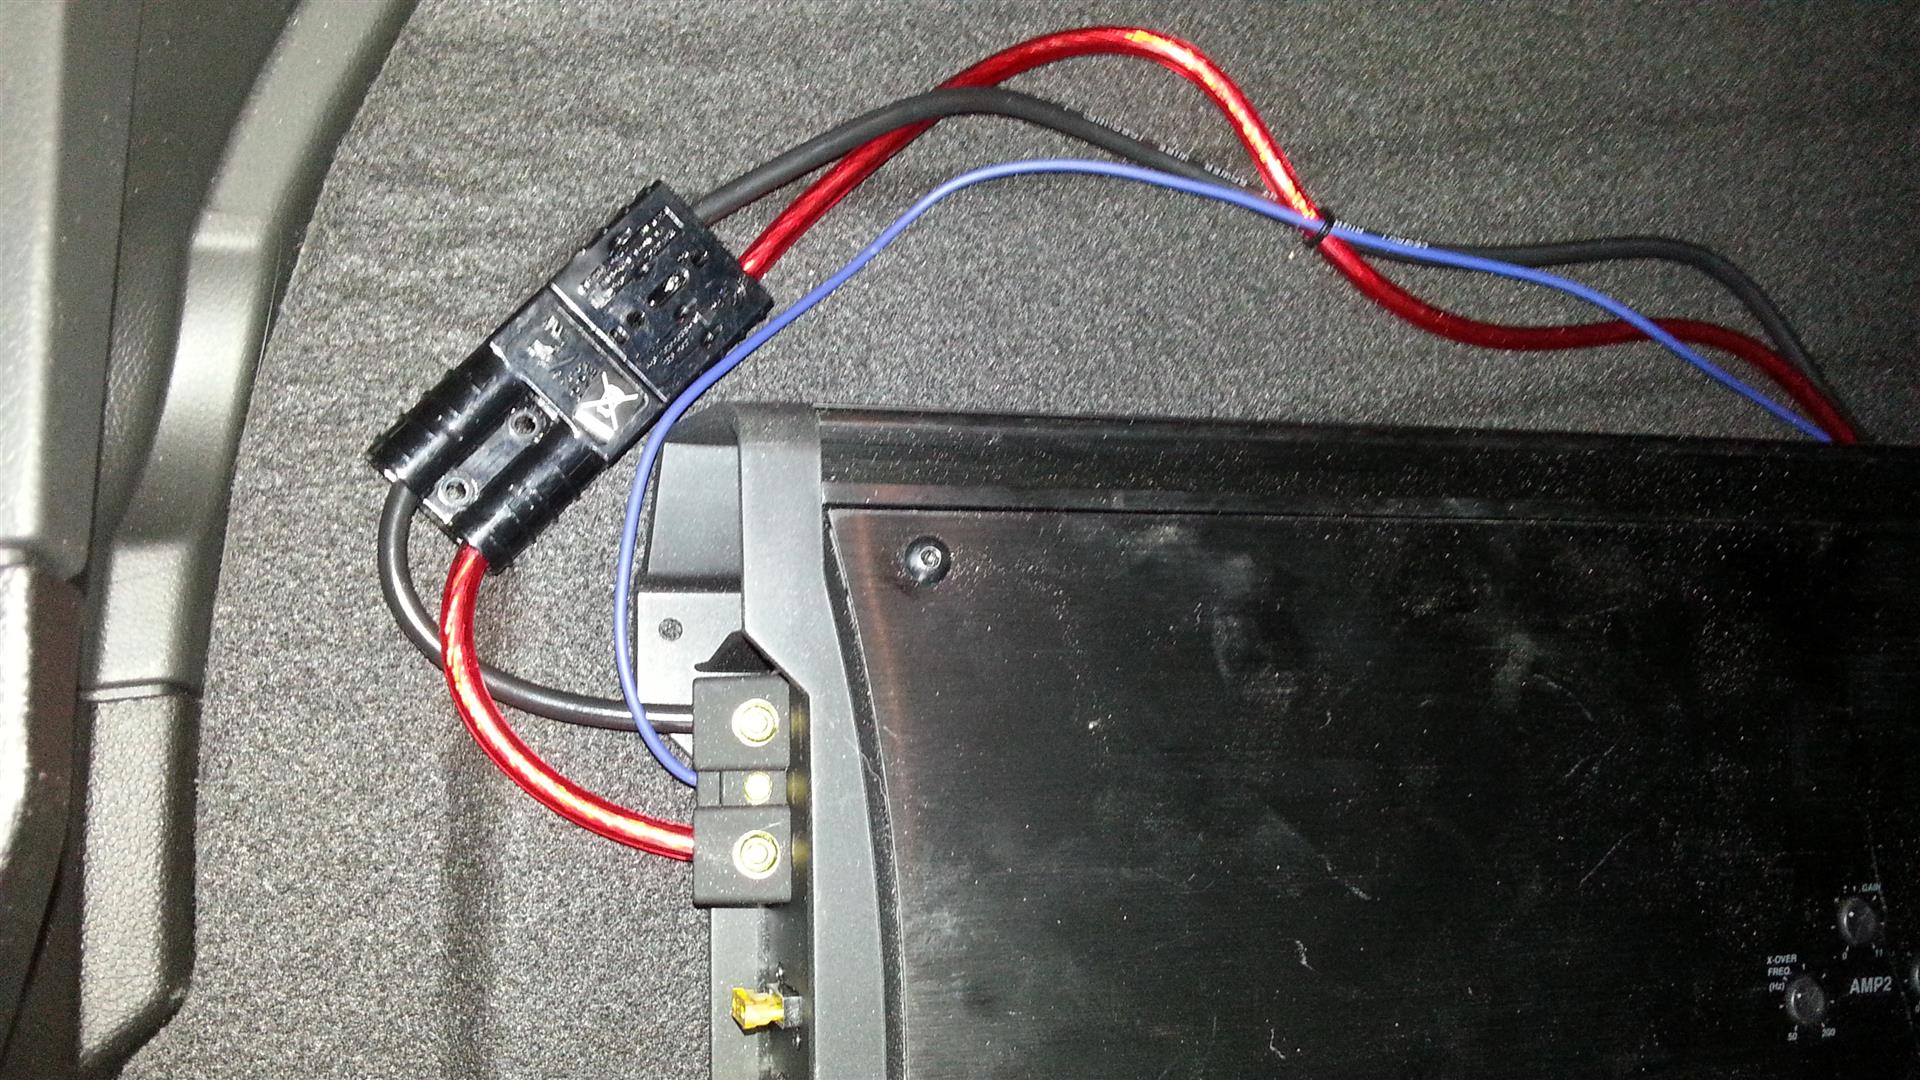
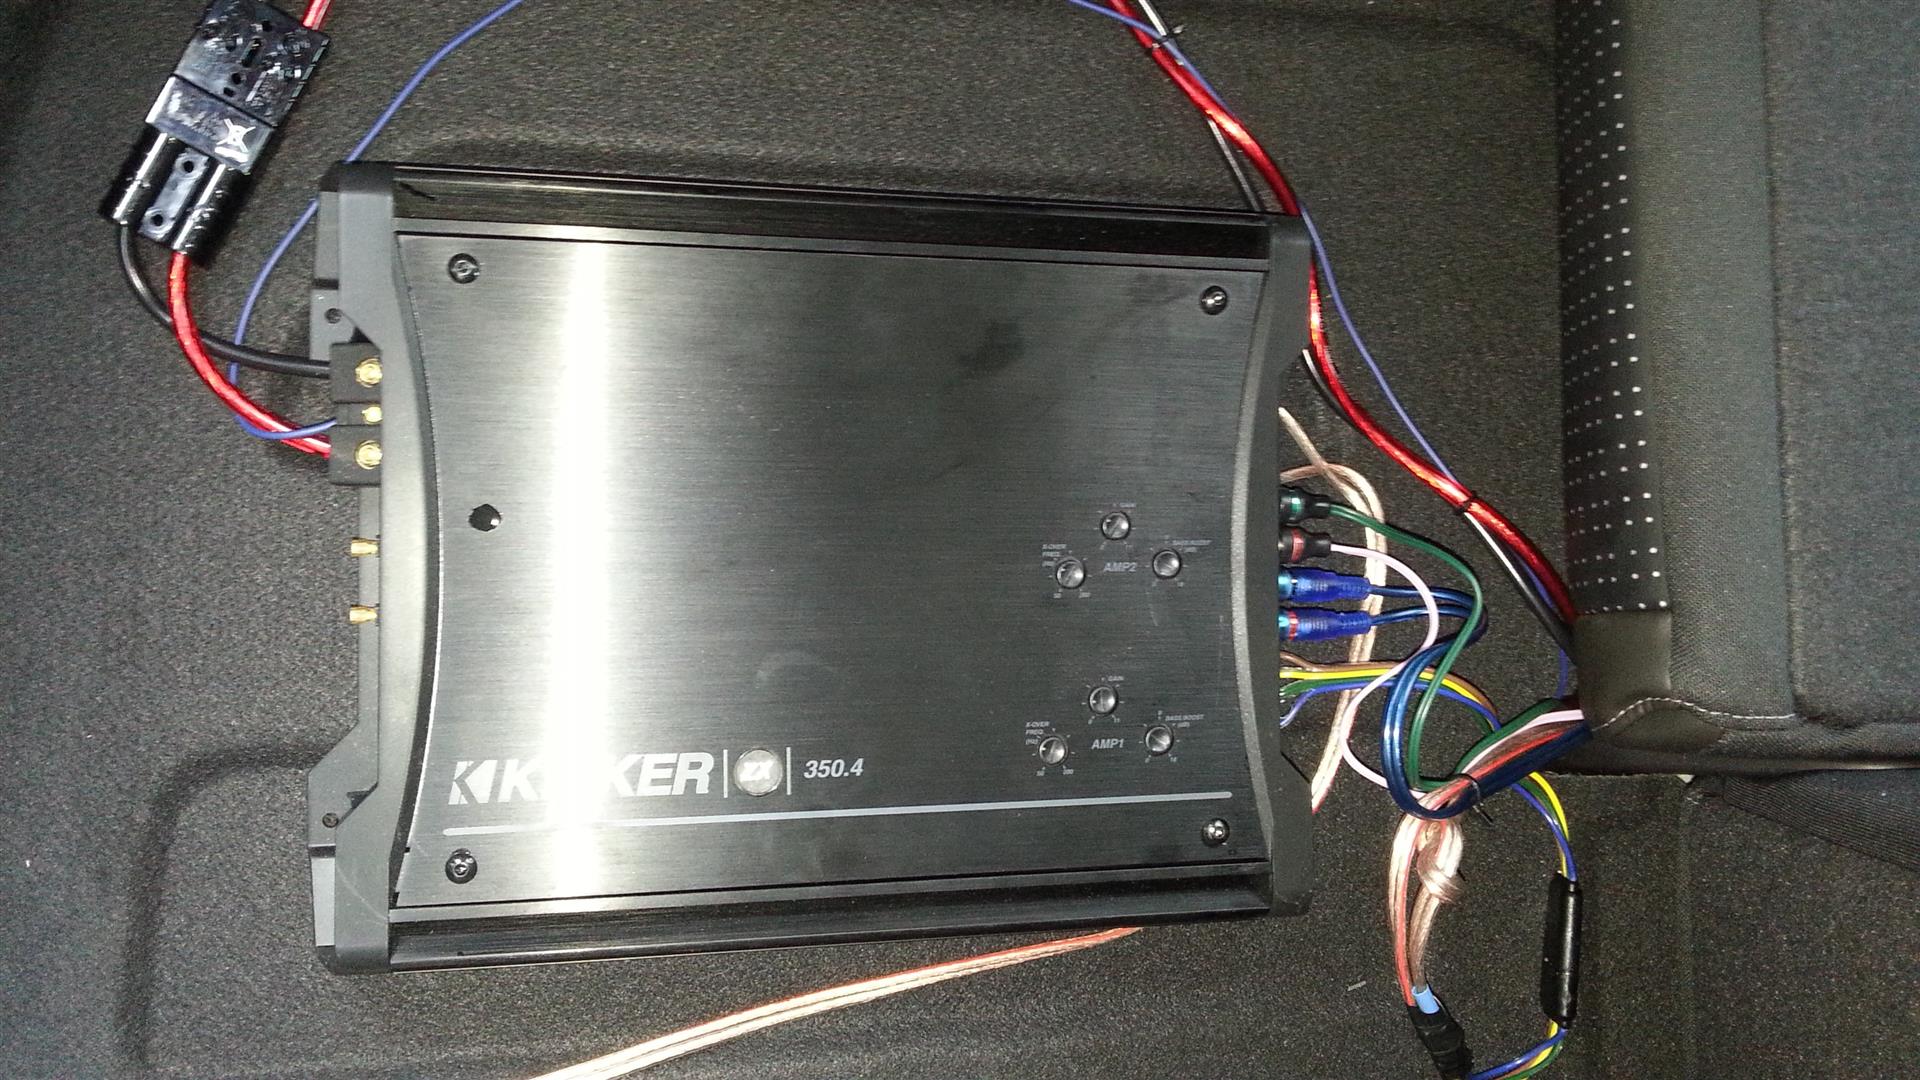
I wanted an easy way to remove the amp in case I needed to. I used a trolling motor battery plug to make a pigtail to quickly disconnect the power from the amp. This plug is rated at 50 amps and works perfectly. I still need to make a pigtail for the remote wire with a spade connector.
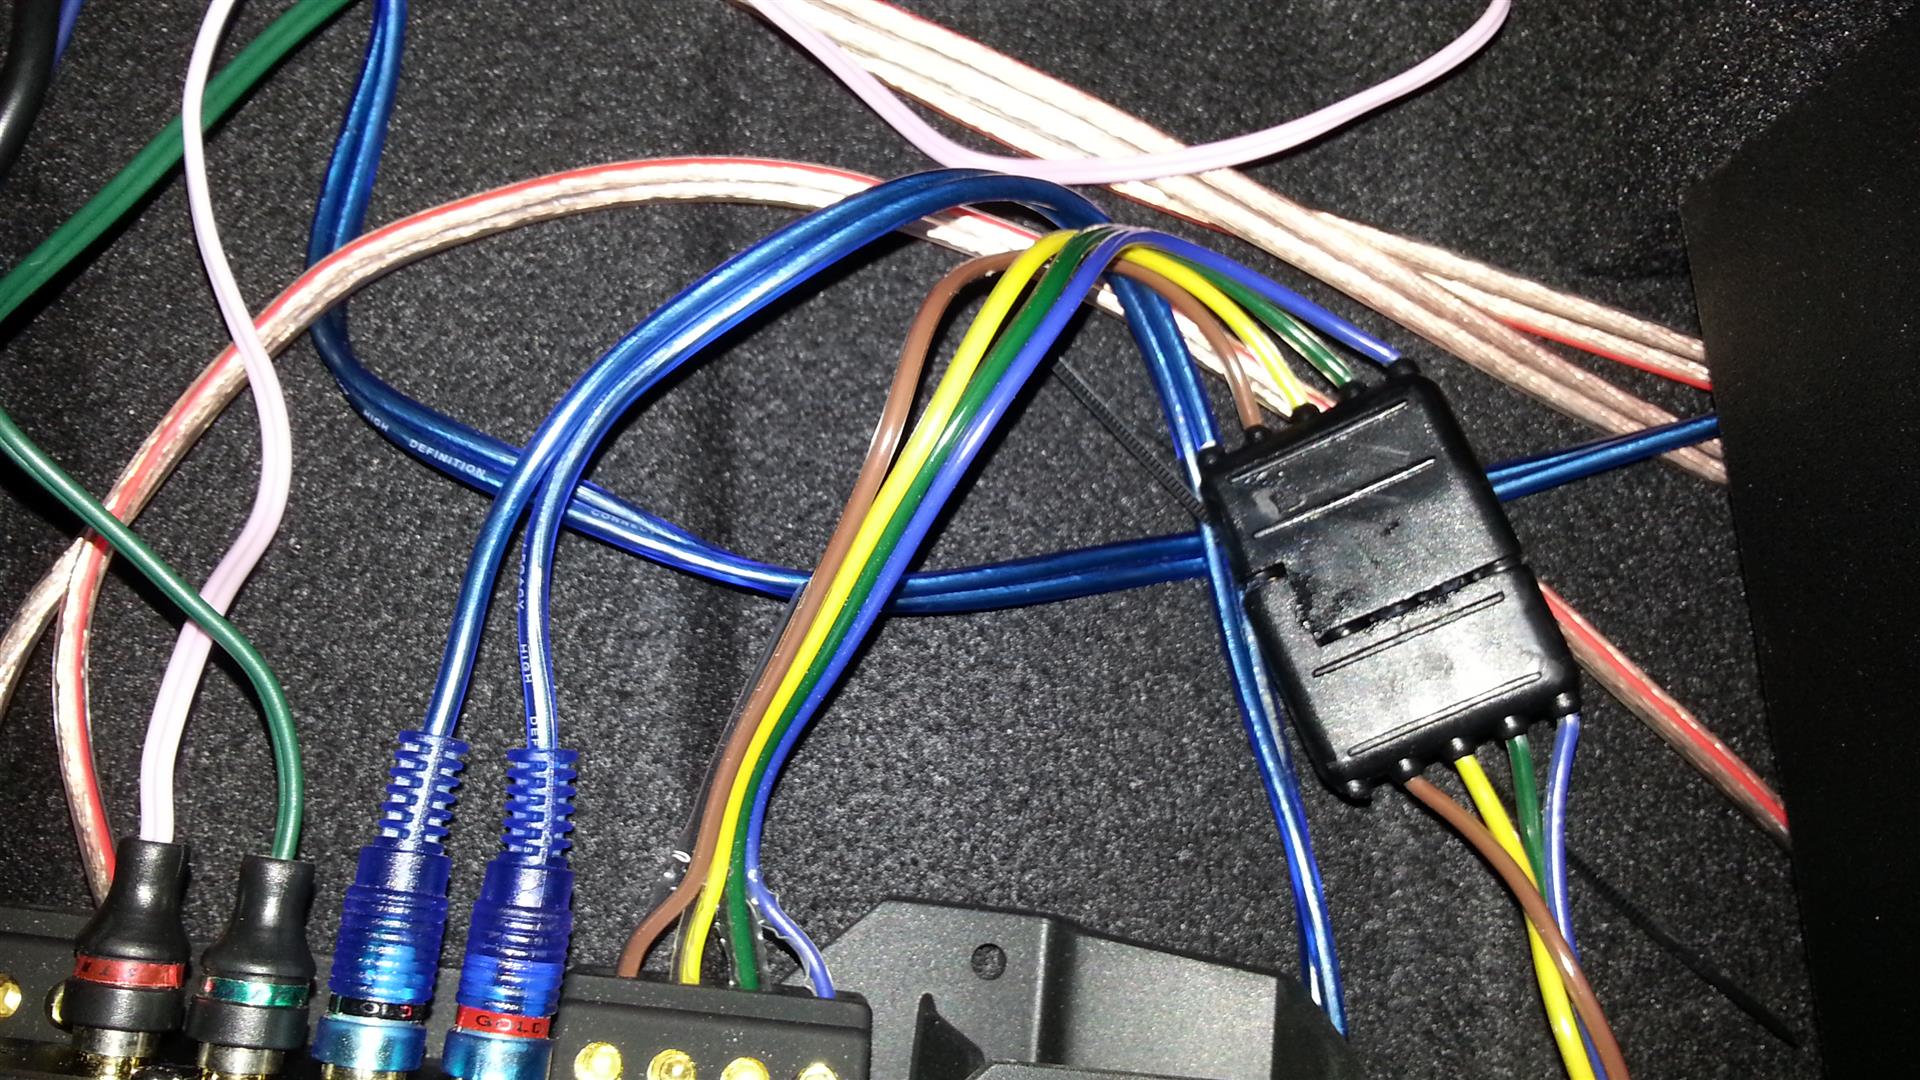
To disconnect the speakers I got a heavy duty trailer light extension and cut it in 2 to make a speaker pigtail. I can remove the amp in 10 seconds without any possibility of shorting to ground.
The amp installed. Once I make the remote pigtail I'll cover the power wires in loom.
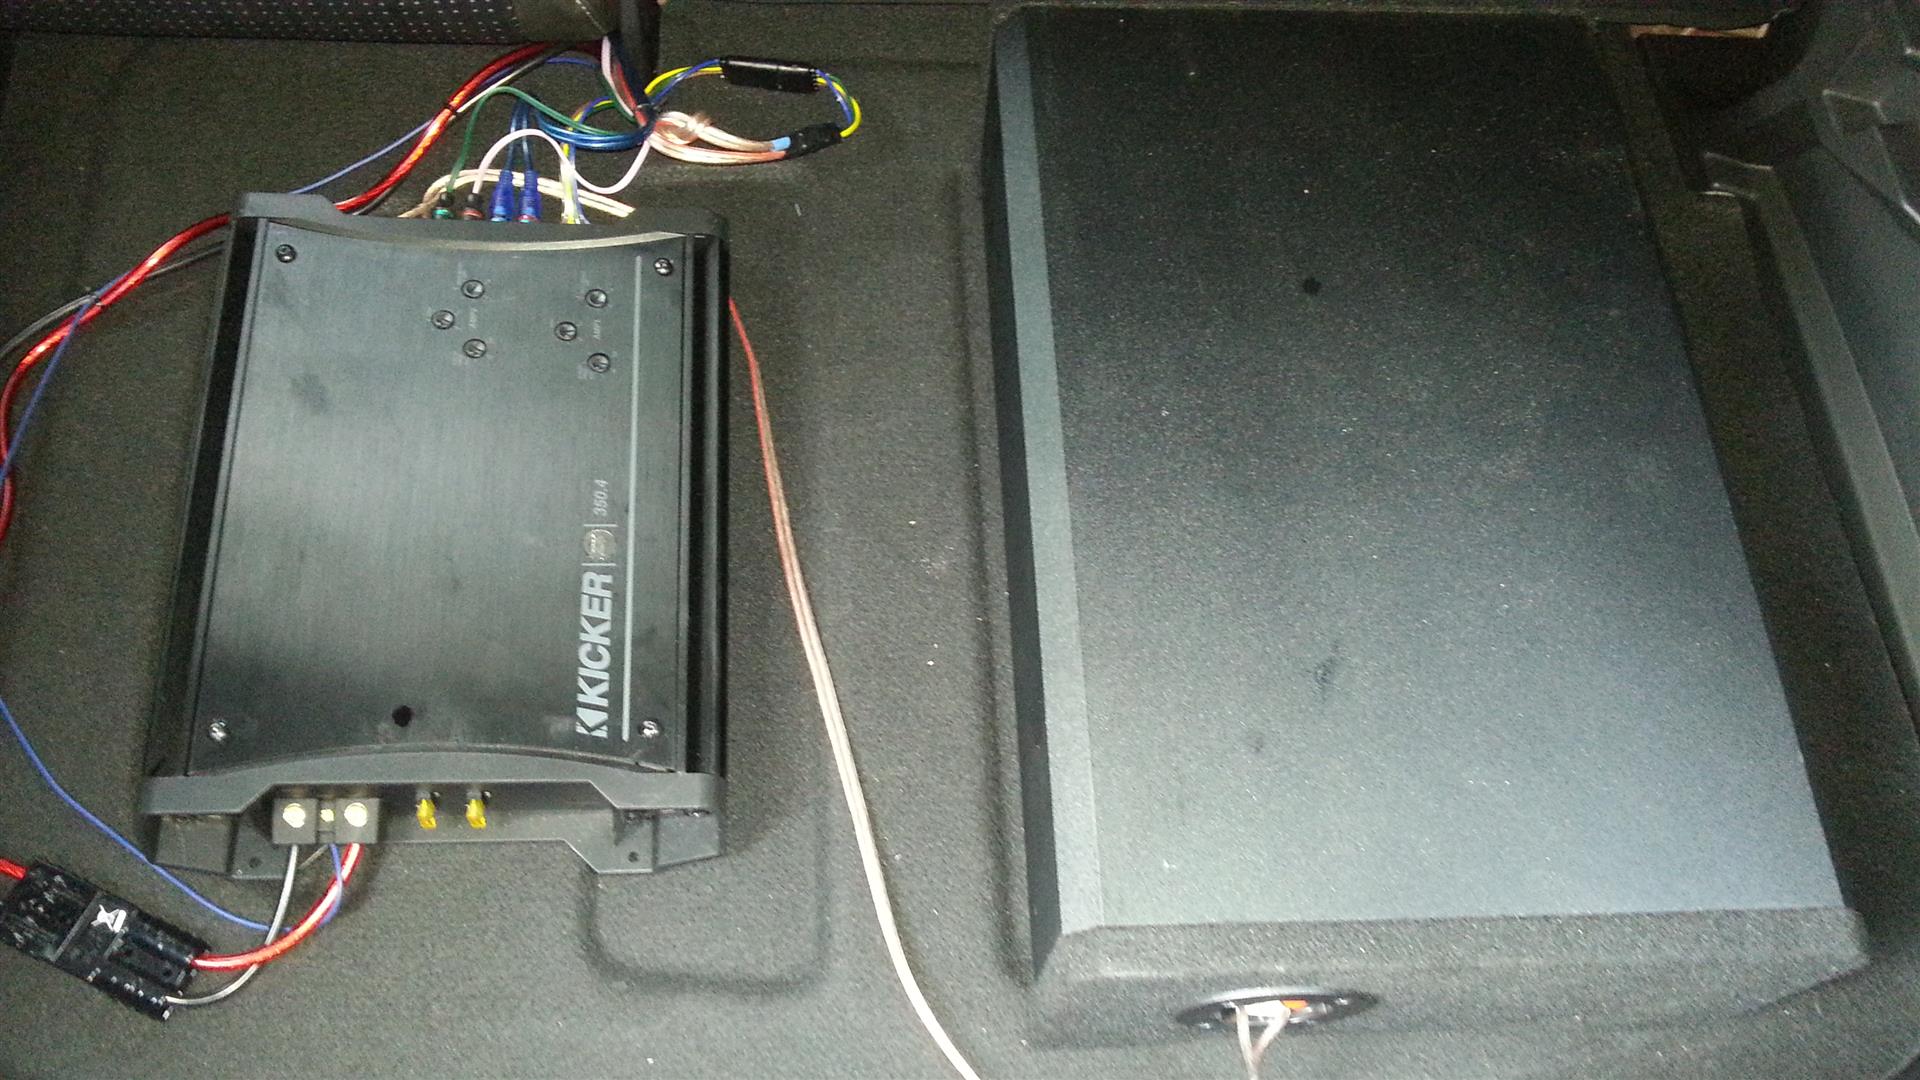
The sub next to it.
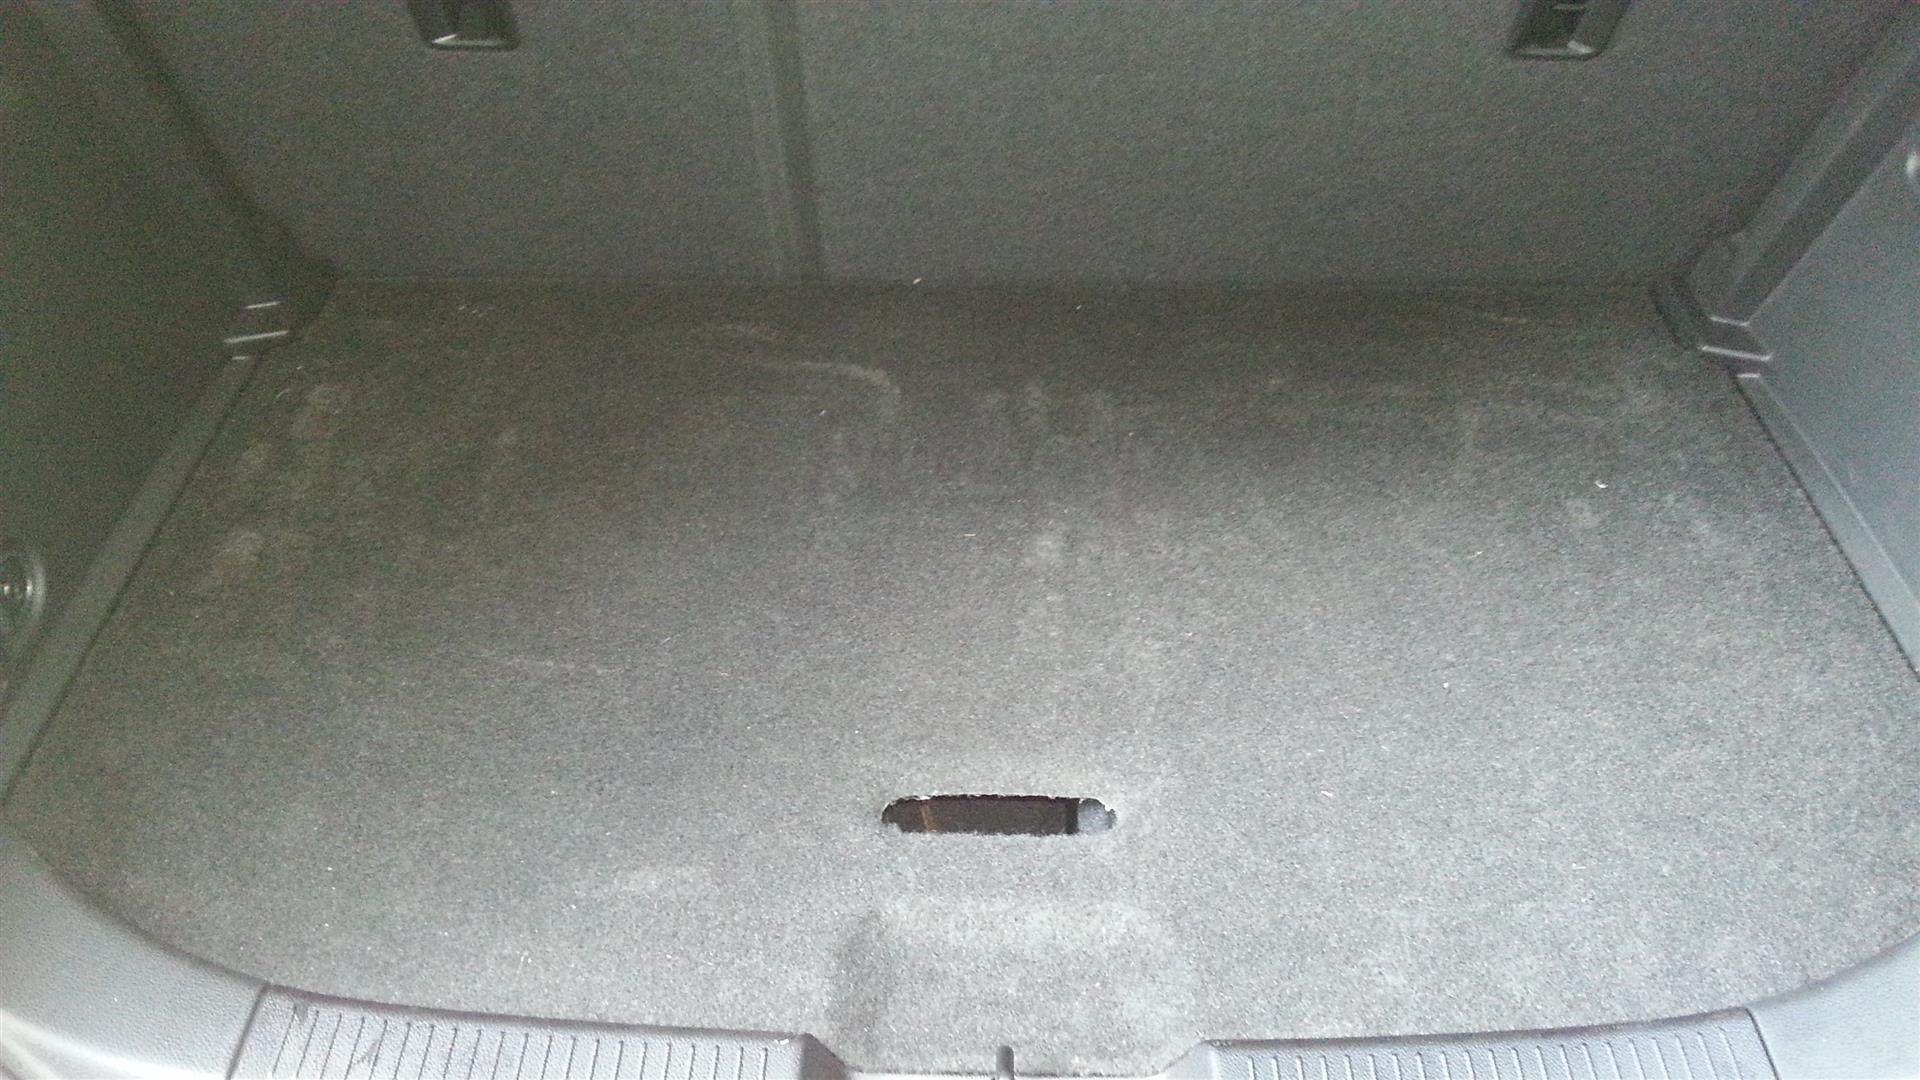
All covered up and out of site of thieves and out of my way when using the hatch space.
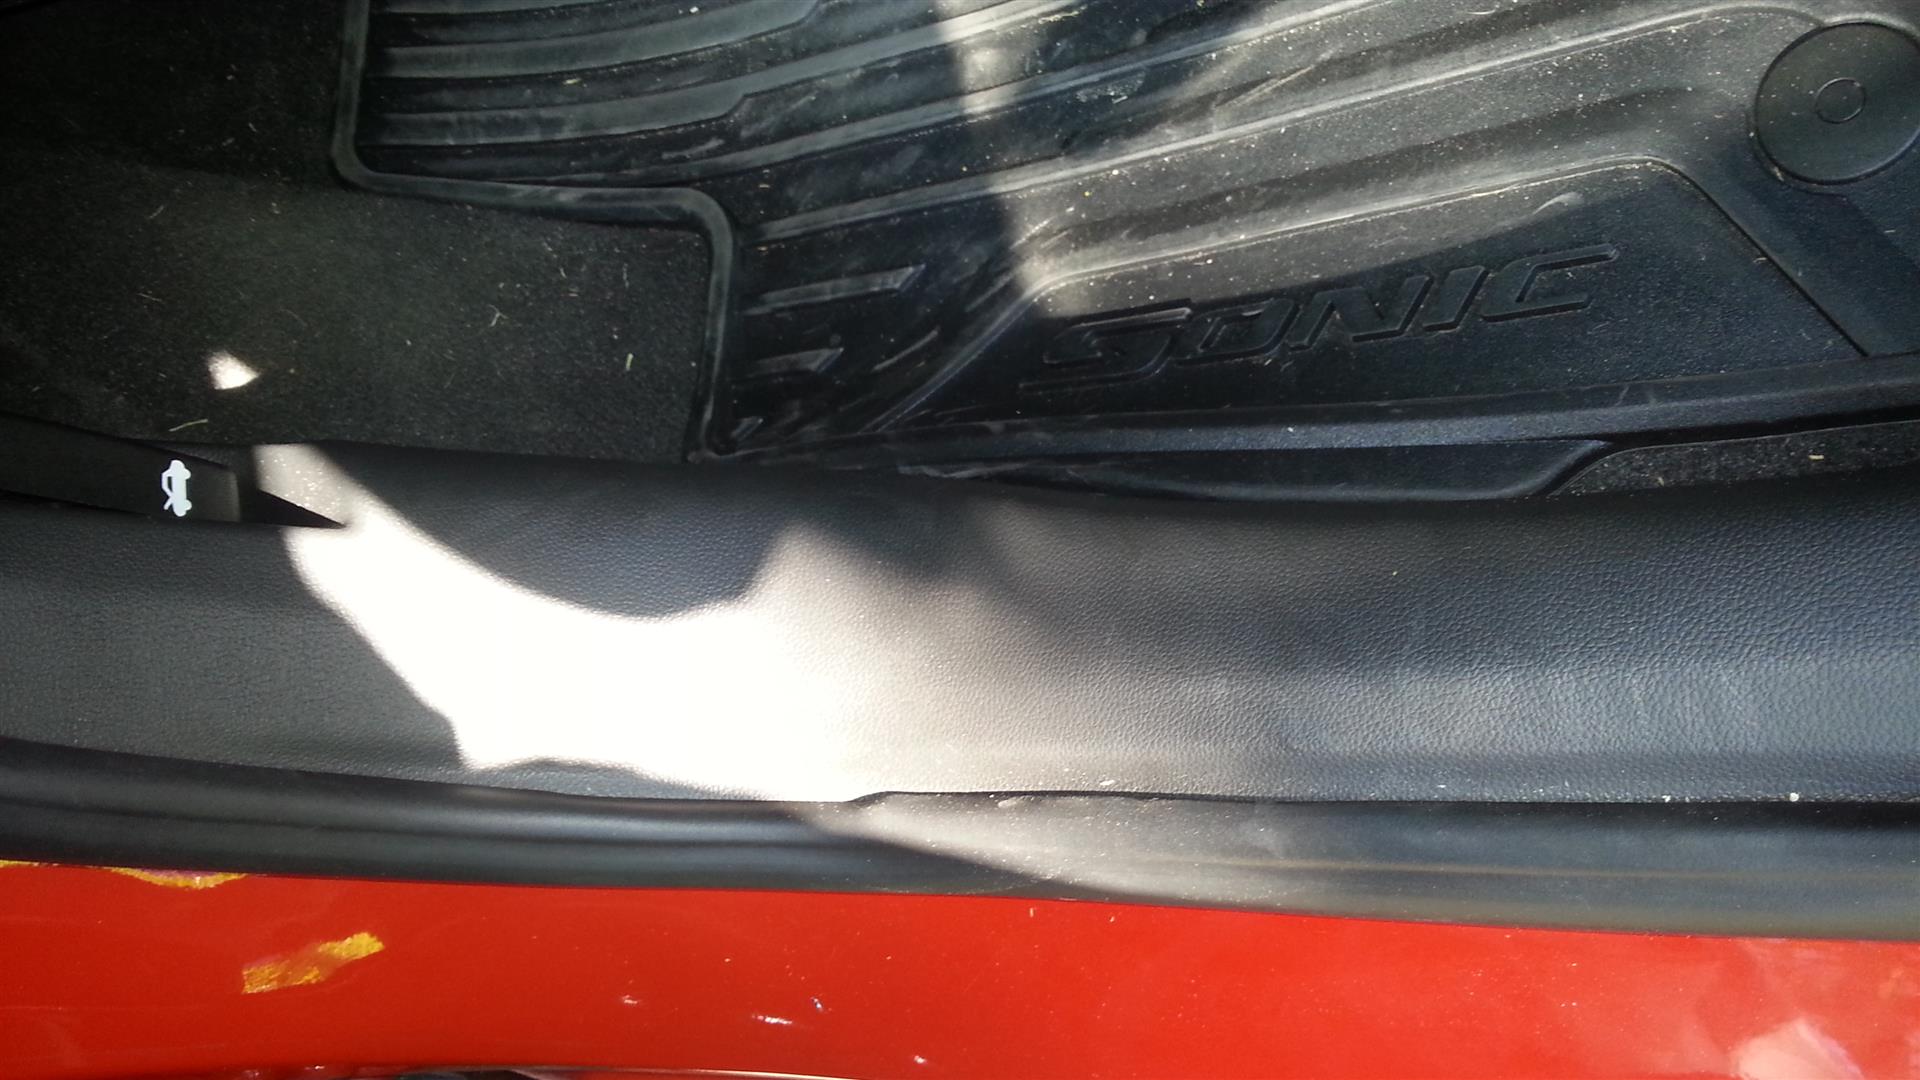
Plastic all back in place and ready to rock.
This system would not satisfy people who listen to electronically generated sound effects, but for those that listen to music it kicks ass. The little Pioneer sub really kicks and it has plenty of power for me. I have it crossed over at about 80~90Hz and set the gains to where I never have to go past 25 on the HU. That way the amp in the head unit is never being pushed to the point of clipping and doesn't introduce too much distortion.
I don't have any pictures of the doors because I couldn't get the panels off completely at the handle, but you don't really need to. There was plenty of room to remove the old speaker and install the new one with just taking the panel loose but not removing it. Since they were already mounted in the adapters it was a quick swap after cutting off the stock plug and soldering the new speaker pigtails to the stock wires.
That's it. If it helps someone, great. If not, I'm still enjoying my commute much more then before.
Here's the equipment I chose.

The Alpines are the same speakers I've had in my truck for 5 years and they still sound great.

I chose a shallow mount sub to minimize space taken up but with enough of a kick to feel.

I used Scosche speaker adapters and XTC baffles for the door speakers. I didn't want to waste time trying to modify the stock mounting brackets, the Scosche adapters are $10 for 2, worth the time saved and the ability to put the speakers together inside in the a/c beforehand. The XTC baffles still allow the speaker to move since they aren't rigid, the foam expands and there are holes where the wires enter. It helps protect the speaker as well as dampen the sound radiated from the back of the speaker preventing phase distortion.
Rear speakers, coax.


Front speakers, components. I attached the crossovers to the back.


For comparison here are the anemic paper cone stock speakers. I thought whizzer cones went extinct in the 70s.

Now comes the installation. After removing the driver kick panel you will need to find the correct wires. The speaker wire colors can be readily found in the forum. The purple wire with the yellow stripe is where you can connect your remote wire. It runs to the console socket but just tap in here to keep from running a wire to the console.

The tweeters for the front speakers I mounted in the panel opposite the mirror. I think they look great there, like factory. I wasn't about to mess with the pillar plastic where the stock tweeter is mounted because of the air bag. I got this idea from another post on the forum. I would give credit but I can't remember their name and the search on this forum without tags sucks. Edit: I found the thread and name, it was djhatch and the thread is http://www.sonicownersforum.com/forum/do-yourself-articles/3431-huge-stereo-install.html


Here my wires are all soldered and ready for testing before heating the shrink wrap. I am using the front 2 channels to drive channels 1 and 2 of the amp and the rear 2 to drive channels 3 and 4. I then ran 14ga back to the factory speaker wires from channels 1 and 2. This sets the door speakers up in parallel presenting a 2 ohm load to the amp. Since I'm not running 1000 watts (only about 90RMS/channel) to the door speakers, I didn't feel the need to run new speaker wires. I hooked up the sub to channels 3 and 4 in bridged mode giving it about 175RMS. This allows me to use the fader in the radio to balance the sub.
Ready to test.

The wires in the hatch ready to start connecting.

Fuse connected to the battery. I will be putting loom on this wire after I'm happy with the placement.

I wanted an easy way to remove the amp in case I needed to. I used a trolling motor battery plug to make a pigtail to quickly disconnect the power from the amp. This plug is rated at 50 amps and works perfectly. I still need to make a pigtail for the remote wire with a spade connector.

To disconnect the speakers I got a heavy duty trailer light extension and cut it in 2 to make a speaker pigtail. I can remove the amp in 10 seconds without any possibility of shorting to ground.

The amp installed. Once I make the remote pigtail I'll cover the power wires in loom.

The sub next to it.

All covered up and out of site of thieves and out of my way when using the hatch space.

Plastic all back in place and ready to rock.

This system would not satisfy people who listen to electronically generated sound effects, but for those that listen to music it kicks ass. The little Pioneer sub really kicks and it has plenty of power for me. I have it crossed over at about 80~90Hz and set the gains to where I never have to go past 25 on the HU. That way the amp in the head unit is never being pushed to the point of clipping and doesn't introduce too much distortion.
I don't have any pictures of the doors because I couldn't get the panels off completely at the handle, but you don't really need to. There was plenty of room to remove the old speaker and install the new one with just taking the panel loose but not removing it. Since they were already mounted in the adapters it was a quick swap after cutting off the stock plug and soldering the new speaker pigtails to the stock wires.
That's it. If it helps someone, great. If not, I'm still enjoying my commute much more then before.
Last edited:
