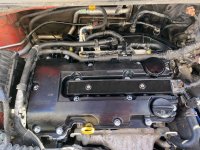
This is a follow-up to a thread I started recently regarding the dreaded PCV failure on a road trip with our 2012 LTZ 6-Spd.
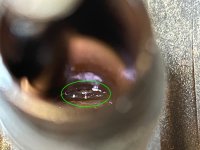
Had typical failure indications- rough idle, "belt squeal" which is really vacuum getting pulled past the crank seal, and eventually a check-engine light. This all happened within the span of a day or so and we still had a 6 hour drive ahead of us. Oil level stayed consistent, but on tear down there was a little pooling in the throttle body.
While there are some excellent threads about replacing the intake and cover, I just wanted to add a few additional pointers that might be helpful and save some time-
1. Before you put in your order for parts, but after determining that your check valve is missing, go ahead and remove your coil pack as you might find you'll need one. One of the risers on ours had cracked and showed signs of arcing and some corrosion down at the plug. The plugs themselves were OK (I had changed them at 100k). If you haven't done yours, now's a good time. Be sure to use some anti-seize on the threads.
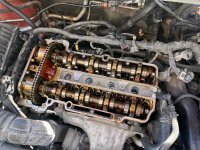
2. I had replaced our cam cover a couple years ago so was familiar with removal; I still don't have an outside-torx socket, but a 12-pt 5/16" fits the bolt heads perfectly. A #6 allen-head bit fits the TBI bolts.
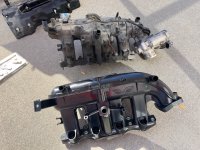
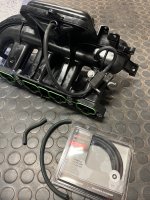
3. I went with Dorman intake 615-380 ($115) and cover 264-968 ($45) both from Amazon. The intake is US-made and fixes the design issue with the check valve. It includes new o-rings for the fuel injectors, and one o-ring for the MAP sensor. The solenoids and fuel rail attach with provided self-tappers. Be very careful and take your time when torquing these. The cover is Chinese and includes new captive bolts as well as an o-ring for the oil cap.
4. I found it easier to leave the fuel supply line connected to the rail and simply remove the rail/injector assm from the intake while in the car and set it over to the side.
5. When you re-install the solenoid on the bottom of the intake, do yourself a favor and replace the old vacuum lines. 5/32" vac hose is what you'll need.
6. Pretty much all of the connectors you need to undo have secondary locks, and each is a little different design. Take your time when figuring out how to remove them. The one on the left underside of the intake, I didn't disconnect until I had the intake loose and could get a better view. Same for the little rubber vac line connecting to it.
7. A 1/4" socket set with 1/4" extension worked great for getting a straight shot at the intake bolts. The Dorman intake forces a slight angle to the lower 2 bolts which precluded using a torque wrench there. Not a big deal once you had "a feel" for the other 4.
8. You are going to disturb a number of coolant related hoses and fittings, even if you're just pushing them out of the way. If you haven't replaced the heater hoses, now's a good time as you'll have excellent access. I did ours last year when they all started leaking pretty much simultaneously. The one I left alone due to access issues wasn't leaking.... and now the o-ring in the quick-connect fitting at the firewall is dripping since I had to disturb it. If you search for some of my other posts, you'll find part numbers related to the needed hoses.
9. There are three "fir-tree" style clips that secure harnesses and hoses you'll need to disturb. One is on the top right of the engine with an obvious zip tie; I recommending cutting the tie and breaking out the rest of it later. New ones can be had at the parts store or even a regular zip tie will work. The other two are on the passenger side rear of the intake. One has wings which can be squeezed with needle-nose, no problem. The other is a fir-tree with zip tie to a heater hose. I used a "door panel popper" to free it once the intake was loose and I had access, but clipping it and replacing it later would have probably been smarter.
Valve Cover Torque: 6 ft-lbs in a star pattern, center out.
Intake Torque: 15 ft-lbs
Spark Plugs: 13 ft-lbs.
Ignition Module: 5 ft-lbs.

