I purchased a 2013 Sonic LT 1.8L for my daughter a few years ago. Late last year the A/C would intermittently stop working. What was odd is it would not work for a few days, work for a few days and this pattern continued. Early this spring she informed me it would not work at all. When you first start the car the A/C would come on but constantly cycle, thus never get cold.
I’ve read many threads on here, but I never found one which shared their results. I figure I will post this, so others can learn from my experience. I will not guarantee this will fix your problem, but it did resolve mine.
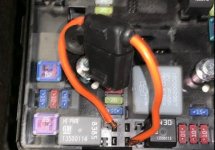
One of the first troubleshooting steps I did was to jumper the relay for the A/C clutch. I used a fusible connection with a 5-amp fuse to be safe. When I did this the A/C ran and it blew ice cold. To be safe I put a gauge on the low-pressure side and it was within spec. I figured yea, bad relay. There is an identical relay for the high beams, so I swapped them but no luck. Time to dig a little deeper.
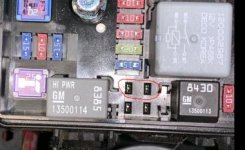
I wanted to check the voltages that supply the relay, so I got out my trusty volt meter. The top two have 12v; one switched and one on all time.
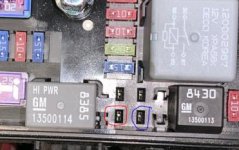
On the lower two, one provides the 12v to the A/C clutch (circled in blue) and the other is the trigger (circled in red). I put a meter on the trigger and it was at 0v with the A/C button off. When I pushed the A/C button it jumped to 3v which is enough to trigger the compressor. However, I noticed the signal would toggle between 0 and 3v. This got me thinking to dig a bit further.
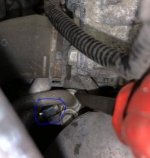
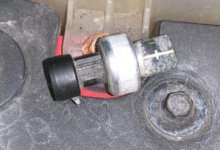
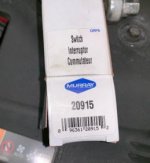
The Sonic has a pressure limit switch which is a safety override. It will cut the compressor off if the refrigerant is to high or low of a pressure. I checked online and the part was $42.00 so I figured it was worth a try. It sits on top of the compressor and is visible below the thermostat housing. I circled it in blue.
It is a little difficult to get to and I did it from underneath the car. I removed the lower pan (two 13mm bolts, and the a 14mm open end was all I needed to remove the sensor. It is operated by a Schrader valve, so you do not need to drain the freon. There is one two-wire connector to remove, unscrew the sensor with a 14mm open end wrench and make sure to install a new O-ring. The hardest part of the job is getting the correct approach with the open end. There is NOT enough room to use a flare nut wrench, but this is not on tight. When installing the new one make sure to put the O-ring on first then screw in the new sensor. Snug is all it needs to be, it is aluminum and you do not want to damage it or the threads.
This is what the old sensor looks like:

